GHLending is an online lender that offers instant loans to individuals in need of quick cash. The loan application process is now available through the mobile app, making it even easier for those looking for a fast and easy solution to their financial needs. GHLending specializes in short-term lending, meaning that you can apply for and receive funds in as little as 24 hours.
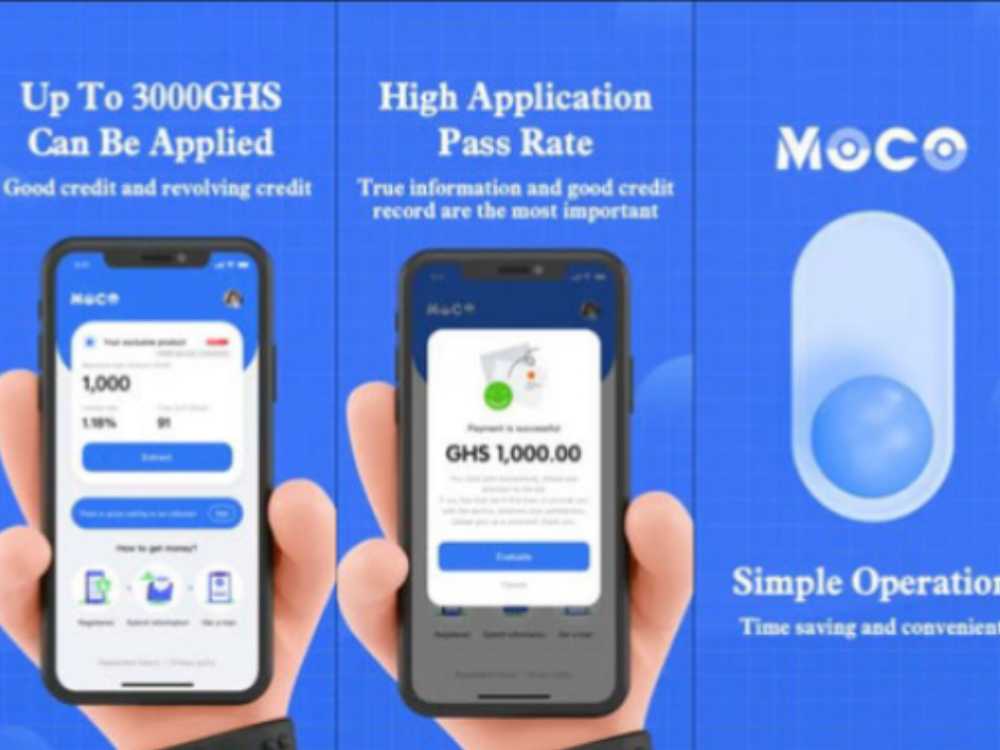
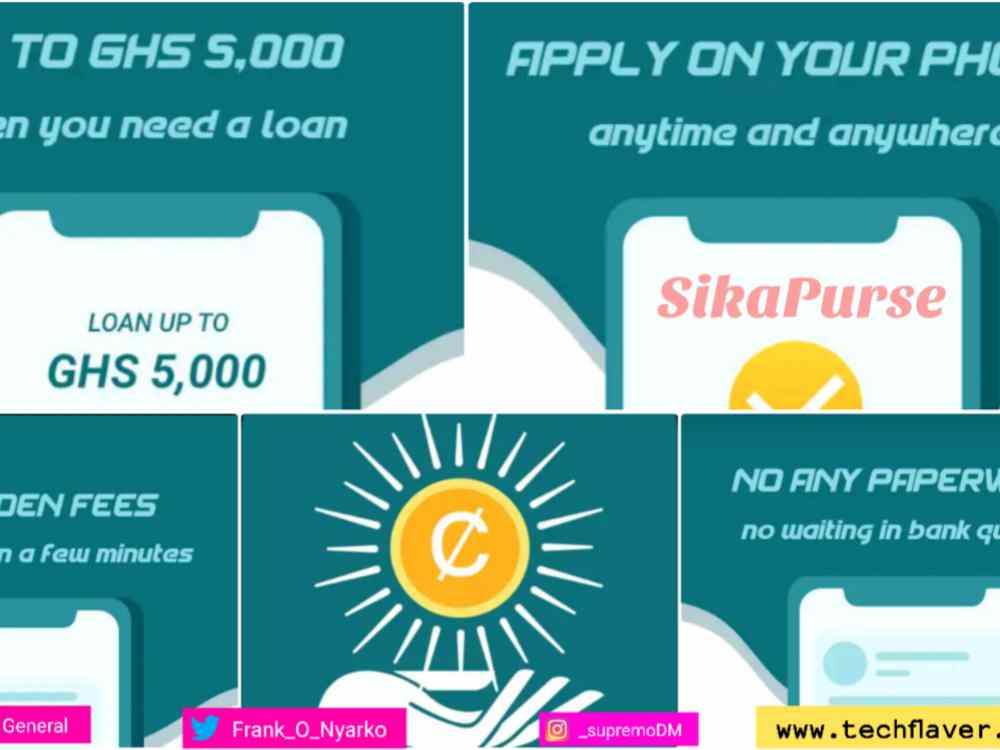
Their instant loan service is designed to provide you with the money you need, when you need it. Through GHLending, you can get up to GHS 5000 without having to worry about long wait times or complicated paperwork.
Requirements
- Applicants must be at least 18 years of age.
- You must provide valid government-issued identification card.
- You must have an active MoMo account with your name.
- You must have a steady and verifiable source of income (such as a job, self-employment, benefits, etc.).
- You must be a Ghanaian.
- You must have a valid email address.
- You must have a valid phone number.
How to download the app
- Visit google playstore on your phone
- In the search bar section, type in GH Lending and search.
- The app will show up after a successful search.
- Click on download and wait for the app to successfully download.
- Now, open the app and register using your mobile number
- Wait for a verification code and type it inside where required
- You will now the given a dashboard where you can apply for your loan.
How to apply
The application process for GH Lending is simple. To obtain a loan, follow the steps described below.
- Download the GH Lending app from the Google Play store.
- Launch the GH Lending mobile App on your phone.
- On the Mobile App, click on request for funds.
- Apply by filling the loan application with your personal and mobile money account details.
- Your application will be reviewed and if you qualify, your requested amount will be disbursed into your MoMo wallet immediately.
The highest and lowest loan you can get from GHLending
On GH Lending, your initial loan request start from GHS 100 the more you request and pay on time, the higher your request goes. The maximum you can request is GHS 5,000.
GH Lending interest rate
GH Lending has a daily loan interest rate of 0.04% and an annual loan interest rate (APR) of 4%-35%.
Benefits on applying for GHLending
Below are some of the benefits you can enjoy when you decide to join the GHLending family.
- Fast and convenient
- Flexible repayment terms
- Low interest rates
- No hidden fees
- 24/7 Customer service
- Online support
How to repay GH Lending
- Open the loan app.
- Once you are in the GHLending app, you will see ‘Repayment.’
- Click on that button.
- On the next page, they will show you the amount you are supposed to pay.
- To proceed, click on ‘Repay Now.’
How to repay GH Lending using MTN mobile money Wallet
You can repay your GH Lending directly using MTN MoMo. To do so,
- Dial *170#
- Select 1 (Transfer Money)
- Type 1 (momo user)
- Input Users Number (GHLending mobile number)
- Confirm number
- Enter the amount
- Enter reference
- Confirm transaction with your MoMo PIN
GH Lending contact
If you have any feedback, questions or concerns about GH Lending services, please feel free to contact them below:
Address: JRGH+73C, Unnamed Road, Accra, Ghana
Email: [email protected]
Conclusion
GHLending’s Instant Loan is a great solution for those who need a quick loan. With no credit check and no collateral needed, you can get the funds you need in minutes. The application process is simple, and the requirements are minimal. Also, there’s an app to make it even easier. If you need some extra cash quickly, this could be the solution for you.