Are you a resident of Ghana wanting a verified PayPal account for free? Look no further! This article will guide you step by step.
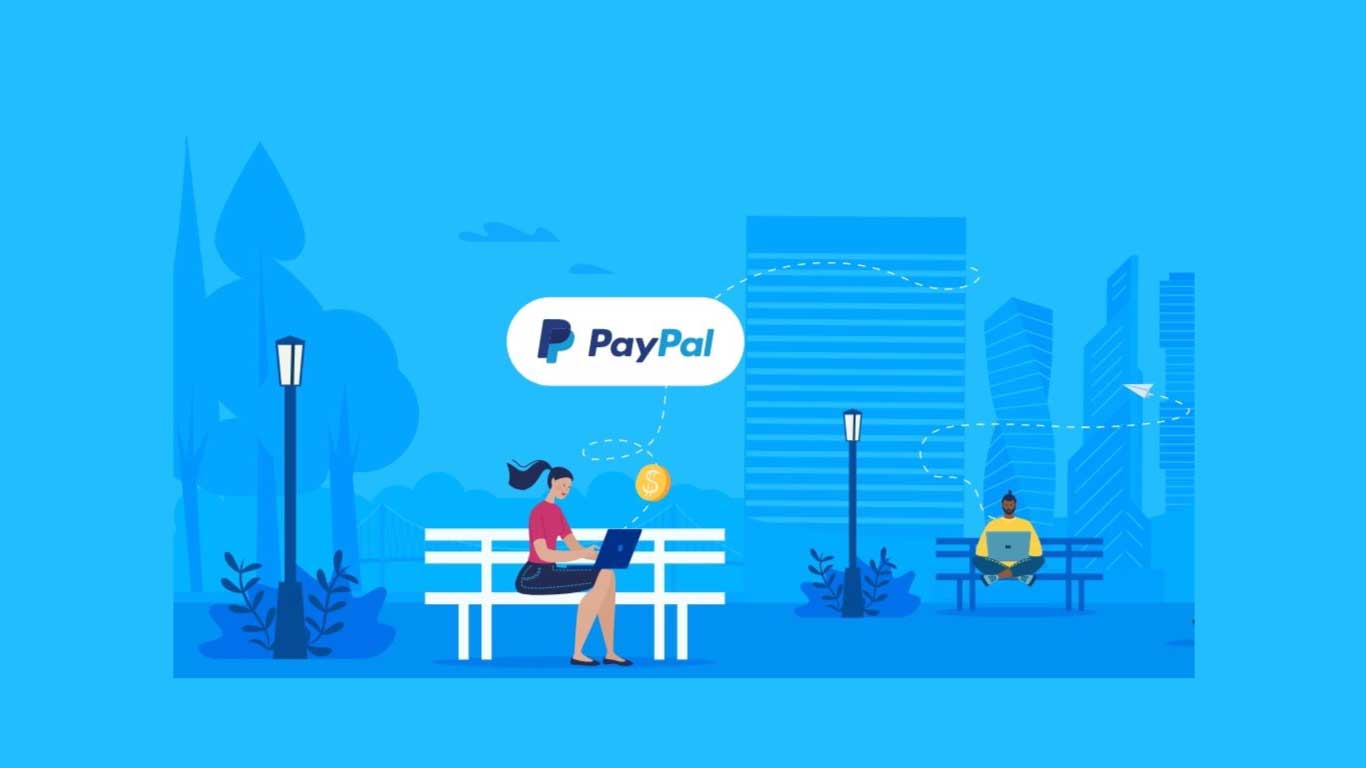
PayPal is crucial for online payments, especially for freelancers and internet workers. Despite the PayPal ban in Ghana, there’s a way to create a verified account and enjoy its benefits. Freelancers, especially those in Ghana and African countries have relied heavily on PayPal (even though there are some PayPal alternatives) to receive payment for services they have rendered as a way to make money.
With PayPal, securely transact online without compromising your credit card details. Buy products from global stores and flexibly choose payment methods. It’s simple, fast, and accessible from anywhere.
Get ready for convenient online transactions in Ghana!
What is PayPal?
PayPal is the largest internet wallet service, serving a global marketplace and offering secure and convenient online payment options. It’s an American financial institution registered in the United States and several other countries.
PayPal is widely trusted and accepted worldwide, making it a popular choice for online transactions. In the past, Ghana and some other African countries were blacklisted by PayPal due to credit card fraud. Although the ban may be lifted in Ghana in 2019, it remains uncertain.
Despite this, there are benefits to having a PayPal account in Ghana. PayPal provides security by encrypting and securing your credit card details, allowing you to make transactions without fear of compromising your information. Additionally, PayPal offers flexibility, allowing you to use various types of cards and make purchases from mobile sites and apps. It’s a simple and fast way to send and receive money, making it a valuable tool for online transactions.
Benefits of having a PayPal Account in Ghana
Having a PayPal account in Ghana offers several benefits.
Firstly, it provides security for your transactions as your card details are encrypted and secured, reducing the risk of compromise or theft.
Secondly, it allows you to easily purchase items online from thousands of vendors who accept PayPal, regardless of their location.
Lastly, PayPal offers flexibility with multiple payment options and is simple and fast to use, making it convenient for sending and receiving money.
Security of transactions
Ensure the security of your online transactions by using PayPal, a reliable and trusted platform for payment in Ghana.
When it comes to disclosing your card details during financial transactions online, there are significant risks involved. However, with PayPal, you can trade online without fear of compromising or having your credit card details stolen.
PayPal collects your credit card details only once, during the sign-up process, and encrypts and secures them. This means that when making transactions, online merchants don’t see or ask for your credit card details.
Additionally, having a PayPal account gives you access to thousands of online stores, as most vendors accept PayPal as a method of payment.
With PayPal, you can enjoy the benefits of security, convenience, and flexibility in your online transactions.
Buying Online
When you have a verified PayPal account in Ghana, you can enjoy the convenience of buying online with ease and flexibility. Having a PayPal account gives you access to thousands of online stores with just your email address and password. Most online vendors accept PayPal as a method of payment, allowing you to easily purchase whatever you need regardless of the location.
PayPal offers security in transactions as it doesn’t require you to disclose your card details to online merchants. With PayPal, your card details are encrypted and secured, protecting you from the risk of having your credit card information compromised or stolen. Additionally, PayPal is flexible, supporting various types of cards and being accepted on mobile sites and apps.
It also offers a simple and fast way to send payments and transfer funds, allowing you to make transactions anywhere, anytime.
Flexible with more options and costs less
With a verified PayPal account in Ghana, you can enjoy the flexibility of more options and lower costs.
PayPal offers various types of cards that you can add and verify to your account, including Mastercard, Visa, debit cards, and credit cards. You can also add multiple cards to your PayPal account, giving you more flexibility in managing your payments.
Additionally, PayPal is accepted on mobile sites and apps, allowing you to make payments with just a few clicks on your smartphone or tablet. This convenience eliminates the need for a token and makes transactions fast and simple.
Simple and Fast
To experience the simplicity and speed of having a PayPal account in Ghana, you can easily send payments, transfer funds, and pay bills with just a few clicks on your computer or mobile device. Here are the benefits you can enjoy:
- Security of transactions: PayPal encrypts and secures your card details, allowing you to trade online without fear of compromising your financial information.
- Buying Online: With a PayPal account, you can easily purchase products from thousands of online stores around the world using just your email address and password.
- Flexible with more options: PayPal supports various types of cards and allows you to add and verify multiple cards to your account, giving you more flexibility in payment options.
- Cost-effective: PayPal is accepted on mobile sites and apps, allowing you to make payments with just a few clicks on your smartphone or tablet, eliminating the need for a token and saving you time.
What do you need to create a verified PayPal Account in Ghana?
To create a verified PayPal account in Ghana, you’ll need three essential things.
First, you need an active phone number, preferably from MTN or Vodafone, as they’re more reliable for receiving OTP from PayPal.
Second, you need your full name as it appears on a recognized National ID. Make sure to use the official name on your ID card for added security.
Lastly, you need a working email address that hasn’t been used to register a PayPal account before.
Once you have these three things, you can begin the registration process on your computer, using Google Chrome or Yandex browser for the best experience. If you choose to use a mobile phone, remember to select ‘desktop mode’ on your browser.
Steps to create a Verified PayPal account in Ghana
To create a verified PayPal account in Ghana, you need to follow these steps:
- Visit the PayPal website using your Google Chrome browser.
- Choose to sign up for a PayPal business account.
- Enter your valid personal and business details.
- Confirm your PayPal account from the email sent to you.
- Sign in to your new PayPal account.
Visit the PayPal website from your Google Chrome browser
Open your Google Chrome browser and navigate to the PayPal website to begin the process of creating a verified PayPal account in Ghana. Here are the steps to follow:
- Visit the PayPal website from your Google Chrome browser.
- Choose to sign up for a PayPal business account.
- Enter your valid personal and business details.
- Confirm your PayPal account from your email.
Once you have completed these steps, you can sign in to your new PayPal account and provide any additional information required. This will enable you to start using your PayPal account in Ghana for receiving funds and making payments.
Remember to confirm your additional details to secure your account and prevent any issues with PayPal. With a fully functioning PayPal account, you’ll have the convenience and security of online transactions at your fingertips.
Choose to sign up for a PayPal business account
Now that you have visited the PayPal website and entered your valid personal and business details, it’s time to take the next step. Choose to sign up for a PayPal business account.
By selecting the business account option, you’ll have more access and the opportunity to receive funds as well as send them hassle-free.
On the signup screen, click on ‘Sign Up’ at the top right. Then, choose the ‘Business Account’ option. After that, enter your valid email address and continue to fill in all the necessary details, such as your name, business name, phone number, postcode, business address, and currency.
Once you have submitted the form, wait for an email from PayPal to confirm that your details have been received. After receiving the email, you can log in to your new PayPal account and complete the remaining steps on the dashboard.
Enter your valid personal and business details
Once you have visited the PayPal website and chosen to sign up for a PayPal business account, it’s time to enter your valid personal and business details. To successfully create a verified PayPal account in Ghana, follow these steps:
- Visit the PayPal website from your Google Chrome browser.
- Choose to sign up for a PayPal business account.
- Enter your valid personal and business details, including your name, business name (if applicable), phone number, postcode, and business address.
- Confirm your PayPal account from the email sent by PayPal.
By entering accurate and valid personal and business details, you ensure the smooth creation of your PayPal account and increase its credibility. Remember to use your official name and a valid Ghana phone number.
Once you have completed these steps, you can proceed to sign in to your new PayPal account and start using it for online transactions.
Confirm your PayPal account from your email
To confirm your PayPal account, follow these steps:
- Enter your valid personal and business details.
- Check your email for a message from PayPal.
- Open the email and click on the confirmation link provided.
- This will verify your email address and complete the process of creating a verified PayPal account in Ghana.
Remember to check your spam or junk folder if you don’t see the email in your inbox.
After confirming your email, you can proceed to sign in to your new PayPal account. Make sure to provide accurate and complete information to avoid any issues with PayPal in the future.
Sign in to your new PayPal account
After confirming your email, you can proceed to sign in to your new PayPal account and access all the features and functions available to you.
Here are the steps to sign in to your new PayPal account:
- Go to the PayPal website using your Google Chrome browser.
- Click on the ‘Log In’ button at the top right corner of the page.
- Enter the email address and password you used during the registration process.
- Click on the ‘Log In’ button to access your PayPal account.
Once you have successfully signed in, you’ll be able to manage your account, send and receive payments, and enjoy all the benefits of having a verified PayPal account in Ghana.
Make sure to keep your login credentials secure and remember to log out after each session for added security.
Confirm your additional details and start using your PayPal account
Now that you have successfully signed in to your new PayPal account, you can proceed to confirm your additional details and start using your PayPal account in Ghana.
To confirm your additional details, log in to your PayPal account and navigate to the dashboard. There, you’ll find options to verify your email address, add a bank account or credit card, and complete the Customer Identification Process.
Verifying your email address is important to ensure the security of your account and to receive important notifications from PayPal. Adding a bank account or credit card will allow you to send and receive funds, make online purchases, and withdraw money from your PayPal account. Completing the Customer Identification Process will provide additional security and prevent any issues with PayPal.
Once you have confirmed your additional details, you can start using your PayPal account for various transactions, such as sending and receiving payments, making online purchases, and managing your funds securely.
Enjoy the convenience and flexibility that PayPal offers in Ghana.
How to fund your PayPal account in Ghana
To fund your PayPal account in Ghana, you have a few options.
First, you can transfer money from friends or family who’ve PayPal accounts.
Second, you can fund your account using a debit card linked to your bank account.
Lastly, you can buy funds from online exchanges that offer PayPal top-ups.
Transfer from friends
To fund your PayPal account in Ghana through transfers from friends, follow these steps:
- Communicate with your friend: Reach out to your friend who also has a PayPal account and let them know that you need to transfer funds to your PayPal account. Make sure they’re willing to help you with this process.
- Calculate the amount: Determine the exact amount in Ghana Cedis that you want to be sent to your PayPal account. Ensure that you calculate the correct exchange rate to avoid any discrepancies.
- Send the money: Transfer the Ghana Cedis equivalent to your friend’s bank account or mobile money wallet. Provide them with your PayPal email address so that they can send you the funds.
- Receive the funds: Once your friend has received the money, they can proceed to send the funds to your PayPal account. Confirm with them that the transfer has been completed successfully.
Fund from Debit Card
To fund your PayPal account in Ghana using a debit card, you can follow these steps.
First, contact your bank to obtain a debit card. Make sure you have enough funds on the card to load onto your PayPal account.
Next, add the debit card to your PayPal account. Once the card is added, you can proceed to fund your PayPal account.
It’s recommended to use a bank that has a mobile app or a good USSD platform so that you can easily send money from your Mobile Money account directly to the bank. This will make the funding process more convenient for you.
Buy from Online Exchanges
You can fund your PayPal account in Ghana by buying from online exchanges. Here are the steps to follow:
- Research: Do a thorough background check on online exchanges in Ghana and read reviews to ensure their legitimacy.
- Compare Rates: Look for online exchanges that offer competitive rates for buying PayPal funds.
- Verify Reputation: Check the reputation of the online exchanges by looking for feedback from previous customers.
- Proceed with Caution: Make sure to exercise caution when dealing with online exchanges and only buy from trusted sources.
How to withdraw money from your PayPal in Ghana

To withdraw money from your PayPal account in Ghana, follow these simple steps:
- Sign in to your PayPal account by visiting the PayPal Dashboard at https://www.paypal.com/ls.
- Once you’re signed in, click on ‘Withdraw Funds’ on the dashboard.
- On the next screen, select ‘From’ and choose your PayPal Balance.
- Then, click on ‘To’ and choose your linked Visa Card, such as the UBA AfriCard, FAB Prepaid Card, or Access Bank Prepaid Card.
- Enter the amount you want to withdraw and click on ‘Continue’.
- Review the transaction details on the next screen.
- Click on ‘Transfer’ to instantly send the money to your linked card.
Please note that although it may say 5 to 7 business days, the transfer is usually instant and you can check your balance at any ATM.
More Tips about Creating a PayPal account in Ghana
When creating a PayPal account in Ghana, it’s important to be aware of a few more tips to ensure a successful and hassle-free process. Here are some additional tips to keep in mind:
- Use a valid and active email address: Make sure the email address you provide during registration is valid and active. This is where PayPal will send important notifications and account updates.
- Provide accurate personal and business information: It’s crucial to provide accurate information when filling out the registration form. This includes your full name, business name (if applicable), phone number, and address. Providing false information may result in account suspension.
- Choose the right currency: Select the currency that most of your transactions will be in. This will help you avoid additional conversion fees when making payments or receiving funds.
- Protect your account: Set up strong passwords and enable two-factor authentication for added security. Regularly monitor your account activity and report any suspicious or unauthorized transactions to PayPal.
Conclusion
In conclusion, creating a verified PayPal account in Ghana is a valuable tool for online transactions and provides numerous benefits. By following the step-by-step instructions outlined in this article, residents of Ghana can easily and securely access the convenience and flexibility that PayPal offers.
With a verified account, individuals can confidently carry out online purchases, receive payments, and withdraw funds, enhancing their online financial experiences.
Don’t miss out on the opportunity to join the global PayPal community and enjoy hassle-free online transactions.