Are you looking for the perfect wearable tech device, but don’t know how to find an Apple Watch? If so, then this article is for you. With a few simple steps and tips, we can help make your search easier so you can find the ideal watch for your needs. Whether you’re new to wearables or just want to upgrade, here’s what you need to know about finding an Apple Watch.
From researching different models to understanding features like cellular connectivity, there are plenty of factors to consider when shopping around for an Apple Watch. But with our guide in hand, you’ll be able to narrow down your options quickly and easily make sure that the model you pick fits your lifestyle perfectly. Plus, we’ll look at where the best deals are available right now!
So if you’re ready to start searching for your next timepiece, let’s dive into everything you need to know about finding an Apple Watch. We’re confident that by following these steps, it won’t take long before you’ve got a beautiful piece of technology on your wrist – one that will stay with you for years to come!
About Apple Watches
Apple Watch is a line of smartwatches produced by Apple Inc. It’s designed to be worn on the wrist and offers features such as fitness tracking, messaging, health monitoring, smartphone integration and wireless payments. With its sleek design and powerful technology, the Apple Watch has become one of the most popular wearables in the world.
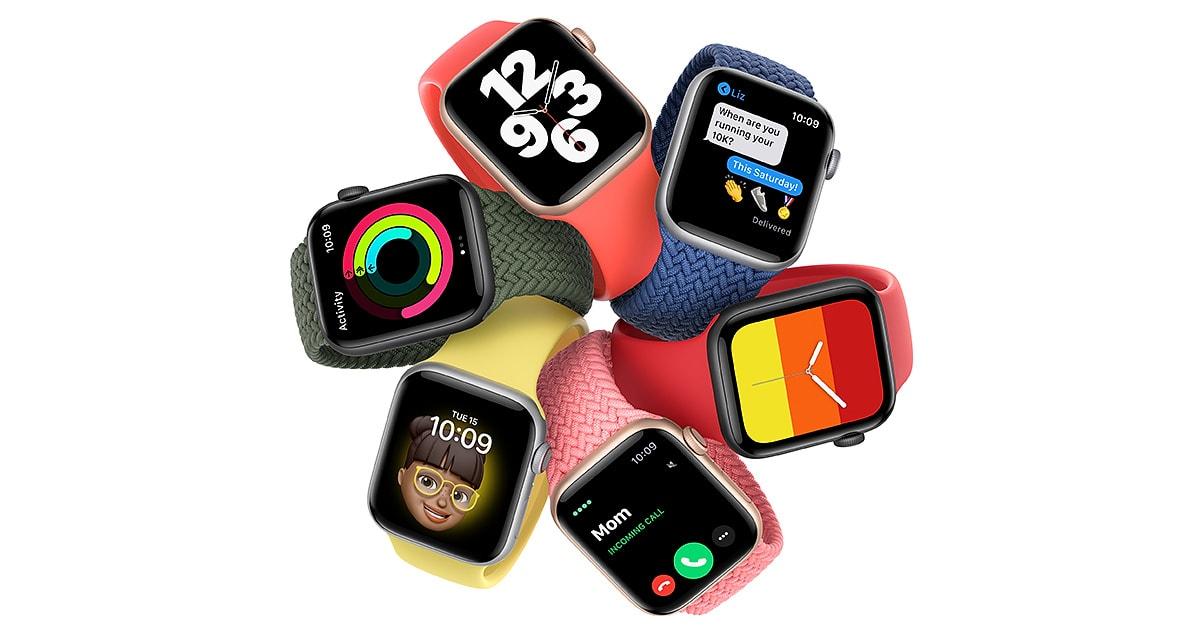
The latest models come with a range of options for users to choose from depending on their needs. There are three main designs: aluminum or stainless steel cases; waterproofed plastic sport bands; and luxurious leather bands. The watch also comes with several different display sizes ranging from 38mm to 44mm in diameter. Additionally, each model includes a variety of features including heart rate sensors, GPS, NFC support, water resistance up to 50 meters, an activity tracker, cellular connectivity (for some models), app store access and more. Depending on your budget and preferences, there’s an Apple Watch that will meet all your needs.
Types Of Apple Watches
Apple has released several distinct types of its Apple Watch. The company categorizes them into three different lines: Apple Watch Series, Apple Watch Edition, and Apple Watch Sport.
Each watch line is available in a variety of sizes, ranging from 38mm to 42mm case heights. The watches also come with various interchangeable bands that can be swapped out for a more personal look.
The most feature-rich of the lineup is the Apple Watch Series — it includes features like GPS tracking and access to third party apps. It’s available in both stainless steel and aluminum cases, depending on which you prefer. In addition, the Series comes with an improved processor speed over other models.
For luxury seekers, there’s the Apple Watch Edition. This model has all the same features as other watches but with an added touch of class thanks to its choice materials such as 18-karat gold or rose gold finishes and sapphire crystal displays.
Finally, there’s the sporty version — the Apple Watch Sport — which offers many of the same features at a lower price point than either of the previous two lines due to its use of lighter weight materials like plastic and rubber straps instead of metal ones found on other versions.
No matter what your needs are when looking for an Apple product, there’s sure to be one that meets them since there are so many options available within each type of watch line offered by the company. With careful consideration you should have no trouble finding an ideal combination size and band style that fits your lifestyle perfectly!
Where To Purchase
Having reviewed the various types of Apple Watches, it’s now time to consider where you can buy one. You’ll find a few outlets for Apple Watch purchasing:
- The official Apple Store – Of course, the most obvious place to look is Apple’s own online store and retail locations. Here, you’ll be able to compare all models side-by-side and pick up any accessories that may come in handy. Prices are fairly consistent across the board — though there are sometimes discounts on certain watches from third-party sellers — but you won’t find any deals at an Apple Store near you or online. Additionally, reviews from verified purchasers make it easy to see how customers feel about their purchase after using them for some time.
- Third Party Retailers – If you’re looking for more variety in terms of price or availability, then turn your attention towards other retailers like Best Buy or Target. They usually carry multiple models of the watch at varying prices as well as discounted versions when they become available. Many also have helpful staff who’ve used these products before and can give advice based on experiences with different models and features. It’s worth considering these places if you want more options than what’s offered by The Apple Store alone.
These two sources should provide plenty of opportunity to get your hands on an Apple Watch at whatever cost suits your budget best — whether its full priced model or something pre-owned that might still offer value for money compared to buying new. Whatever route you take, read reviews carefully and ask questions so you know exactly what kind of product you’re getting before making a commitment!
Setting Up Your Device
When you get your Apple Watch, it’s time to get started setting up and customizing it. Connecting the watch to your iPhone is easy. All you need is a few minutes and some simple steps.
| Step | Action | Experience |
|---|---|---|
| 1 | Pairing | Connected & Ready To Go! |
| 2 | Syncing | Customized For You! |
| 3 | Downloading Apps | Your Watch Is Alive! |
| 4 | Setting Up Notifications | Get Notified Instantly! |
| 5 | Personalization | Make It Truly Yours! |
Once everything is set up, you can start using all of the features available on your new Apple Watch. From messaging friends and family, tracking workouts, or checking notifications – there are endless possibilities with this device.
With over 40 million units sold in 2019 alone, the Apple Watch has become one of the most popular smartwatches in the world. Now that yours is ready to use, you’re part of an incredible community of people enjoying their watches every day. Enjoy exploring what yours can do!
Conclusion
In conclusion, the Apple Watch is a great device for anyone looking to stay connected and keep track of their health. The wide variety of models makes it easy to find one that fits your needs and budget. You can purchase an Apple watch from many retailers both online and in store, or directly from Apple. Setting up your new watch may be confusing at first but with some simple steps you’ll have it ready to go quickly.
All in all, if you’re looking for a reliable way to stay on top of your fitness goals while staying connected, an Apple Watch could be the perfect choice for you. It has plenty of features that make managing your life easier than ever before, so why not give it a try? With its robust design, intuitive user interface, and array of useful apps, there’s no doubt that the Apple Watch will continue to be popular among users for years to come.