The heart is the most organ in the body. According to scientists and from personal experiences, we all know that the heart is the only organ in the human body that stops ONLY when you die.
As a result, regular monitoring of your heart and heart rate can go a long way to help your health. Before the coronavirus (COVID-19) struck, everyone taught they could never care more about their health.
Just some few months after the coronavirus became a global pandemic, almost everyone in the world is now concerned about their health; especially, their circulatory system (the heart, lungs, etc).
With the help of your smart Apple Watch, you can monitor your heart rate to prevent any unforeseen situations. Enough of the plenty talk, let’s jump right into it.
How To Monitor Your Heart Rate With An Apple Watch
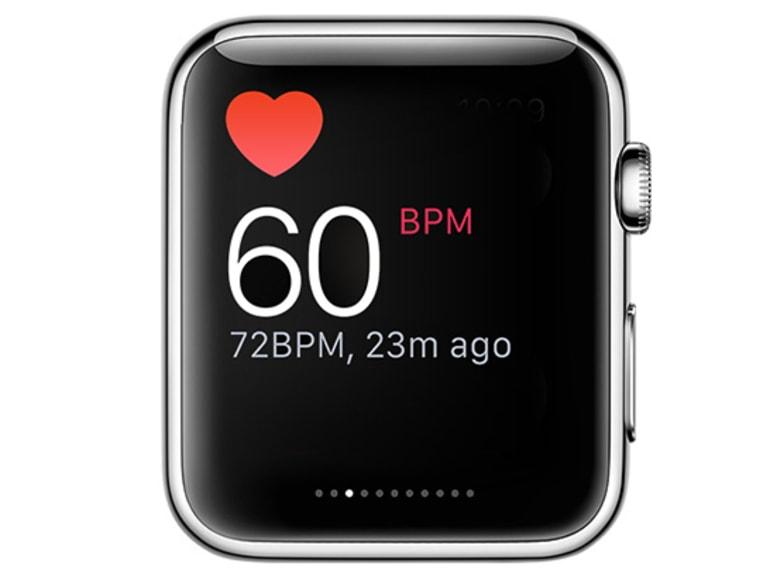
The Apple Watch heart rate monitor can display your current, sleeping (resting) and walking heart rates. Also, you can instruct the Watch to notify you of any rise in your heart rate during a period of inactivity.
To get started:
First of all, update your Apple Watch to the latest watchOS version.
To confirm this, you can open the Apple Watch app on your iPhone, and go to General and then Software Update. This option will show you to either install the latest version or inform you that you have the latest watchOS version.
On your Apple Watch, open the Heart Rate app.
Tap on Next and then another message will tell you how the Heart app can notify you when your heart rate rises over 120bpm (beats per minute).
After you agree to this, tap Turn On. From then, the Apple Watch will alert you whenever your heart beats more than the normal 120 beats.
Also, the Watch will alert you if there’s an increase in your heart rate after 10 minutes of being inactive.
To get more details about the heart rates, swipe up the screen to see your resting heart rate for the day. Also, you can swipe up once again to see your average walking heart rate for the day.
Finally, to see all the heart rates together (current, resting, and walking) at the same time, tap the Current link at the top of the screen. All these three heart rates will be displayed together.
Conclusion
The heart as I stated earlier, is the most important organ of the human body. Therefore, if you have the Apple Watch, I entreat you to follow these simple steps listed above and get your heart rate monitored.
If you don’t have or cannot afford the Apple Watch, make sure to exercise daily and check your heart rates at least once every week to know where you stand.
NOTE: Heart attacks do not affect only the old or the young. Everyone is at risk of having a cardiac arrest (heart attack). So take good care of your health.
Do you really want to hide the hidden photo album on your iPhone? Continue reading because in this article I am going to show you how to actually hide the hidden photos album on your iPhone.
The hidden photos album on iPhones has for the past years been just a folder that can be easily assessed by anyone. Although the name of the folder is “Hidden Photos”, the folder can easily be found in the list of folders.
Because of that, Apple has made it possible to now hide the “Hidden Photos” if you have an iPhone with iOS14 and above. If your device has/can be updated to iOS14 and above, then you can follow the rest of the article.
In case your device doesn’t support iOS14 and above, you can still read through and then later follow the steps when you get an iPhone that supports iOS14 and above.
How To Hide A Photo in iOS 14
You can’t just hide an empty Hidden Photos album; you need to add photos to the album.
This is simply known as hiding a photo. This is because, whenever you hide a photo, it automatically goes into the Hidden Photos album.
To hide a photo, follow the steps below:
On your iPhone, open the Photos app.
Scroll through and tap on the picture/video you want to hide.
You can also tap on the Select option in the upper right corner and then tap on multiple photos/videos.
Tap on the Share button in the lower-left corner.
Scroll through the options and tap on Hide.
You will then need to confirm your selection by tapping on Hide Photo.
How To Actually Hide The Hidden Photos Album On Your iPhone
There are several reasons why you may want to hide your photos. Maybe they may not be appropriate for your kids or you just feel like hiding it.
Whatever the reasons are, once you really want to hide the hidden photos album, you can follow the steps listed below.
Open the Settings app on your iPhone.
Scroll through the apps and tap on Photos.
Scroll down and toggle the Hidden Album off.
The Hidden Photos album will now appear in the Utilities section of your Photos app.
How To Show The Hidden Photos Album
In case you now want to show the hidden photos album, you can follow the steps below:
Apple Watches are one of the smartest wearable technologies that have ever been manufactured in the world. This tiny watch can perform some things that some human beings would have found difficult to do.
Among some of these attributes given to the Apple Watch is its ability to help you keep healthy. Healthy?? Yeah, you read it right, that tiny thing on your hand can help you stay healthy.
The Apple Watch can monitor your heart rate and some other vital health information; some of which could cause some serious health conditions when not look at properly.
But how exactly does this happen, well I am going to show you exactly how to get healthy with your Apple Watch.
The Apple Watch Series 4, 5, and 6 comes along with an ECG app that can take an Electrocardiogram of your heart rhythm. On normal, you need to visit the hospital and pay some amount of money before you can receive an ECG.
How To Get Healthy With Your Apple Watch
Monitor your heart rate
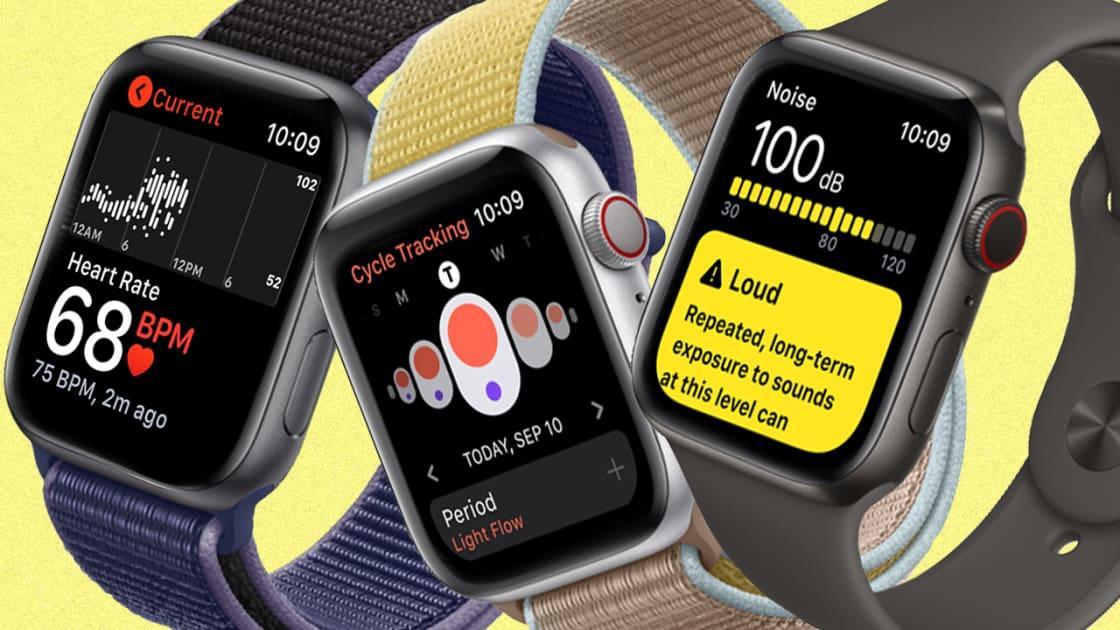
The Apple Watch comes along with an already existing Heart Rate app which can be used to measure your heart rate.
Also found in the app is the feature to display your current, your resting, your average, and specific heart rates. If the feature in the Heart Rate app is not enough, you also download other third-party apps to check your heart rate.
Track your menstrual cycle
Also installed on your Apple Watch is the Cycle Tracking app which is used to check menstrual cycles. Before you can use this app, you need to set it up. To set up your cycle, open the Health app on your iPhone and tap on Browse > Cycle > Tracking >Get Started.
Once you are done setting it up, you then need to enter the day you had your last period, the duration it lasts, and the length each of your cycle’s last. The app will then perform the calculations and alert you when it’s due. Other controllable options are Period Prediction, Period Notification, Log Fertility, Log Sexual Activity, etc.
Wash your hands for 20 seconds
This feature is not supposed to shock you because of the times we live in now. As the popular saying goes: “we don’t live in normal times”. If you have Apple watchOS 7 and above, Apple has added this feature to help you protect yourself against this virus.
The timer detects when you are washing your hands under running water and then gives you the timer. You can simply go to Settings and turn Handwashing Timer on.
Measure your blood oxygen level
This feature is available on Apple Watch Series 6 and watchOS 7 and later. The app measures to see if the amount of oxygen entering your brain is enough or not.
This feature can be turned on by opening the Apple Watch app on your iPhone, tap on the Settings option for Blood Oxygen, from there turn on Blood Oxygen Measurements.
Conclusion
With the above things you can do with your Apple Watch, there is no doubt that the Apple Watch is one of the smartest watches in the world.
If you have other ways of getting healthy with your Apple Watch, feel free to write it in the comments section below and I will add it to it. Also, make sure to share this post with your friends and loved ones.
Are you thinking of how to use iMessage on your iPhone and iPad without a SIM and phone number?
One of the questions I have been getting from most people is how to use iMessage on your iPhone and iPad without a SIM and phone number. Well, I am going to show you the detailed method of doing that in a bit.
iMessage is the easiest and cost-efficient way of sending text messages to your friends and loved ones who have iPhones and iPads. Unlike normal text messages that charge from your main account, iMessage uses internet data instead.
For parents who would like their children to use iMessage without paying for a SIM card for them, this article is going to be really helpful. Now enough of the plenty talk, let’s get right into it.
How to Use iMessage On Your iPhone And iPad Without a SIM And Phone Number
Before we begin, you need to have an active Apple ID and internet connection. The Apple ID is what you are going to be identified within iMessage. Once you have all these follow the steps listed below:
Add an iCloud account to your iPhone or iPad (if you haven’t done that already). To do this, you can go to Settings and you will be asked to Add account, follow the on-screen prompts and sign in with your Apple ID and Password.
Open the Settings app on your iPhone or iPad.
Scroll to the bottom and select Messages. After that, make sure the toggle next to iMessage is turned on.
Tap on Send & Receive. If your iMessage was initially set up using a phone number, you will find it together with your Apple ID. From here, tap on your Apple ID under the ‘You can receive messages to and reply from’ option.
If no Apple ID shows up under the ‘You can receive messages to and reply from’ option, tap on Use your Apple ID for iMessage and then select your Apple ID.
Go to the Message app and try sending an iMessage to see if it works. If you followed the steps very well, it will work perfectly.
Conclusion
There you have it, you can send and receive iMessages directly to your iPhone or iPad without any SIM or phone number. But, as I stated earlier, you need to connect your device to WiFi before you can send and receive iMessages.
Now that you are all set, have fun chatting with your friends and loved ones on your iPhone or iPad using iMessage, play iMessage games, etc.
Are you looking for the best Apple repair and service centres in Ghana? If your answer is yes, I am going to show some of the best Apple repair and service centres in Ghana.
Unlike Android, Windows, and other devices where you can get any repairer to fix it for you, Apple devices are a little complicated and when they end up in the hands of the wrong person, they could permanently destroy your device.
Because of that, we have decided to bring you some of the best and certified Apple repair and service centres in Ghana. The list is trusted and genuine service centres that have been tried and tested by people all over Ghana.
As a result, there’s no fear or whatsoever if you want to get Apple device repaired by any of the service centres listed below.
Best Apple Repair And Service Centres in Ghana
Smartfix Technologies
The number one service centre on our list today is Smartfix Technologies. Smartfix is the largest and on-demand Apple repair service centre in Ghana. All the workers at Smartfix are certified Apple technicians with years of experience.
Smartfix works just like uber; this is because you can sit at the comfort of your home and order for Smartfix to come for your device at your house. After they are done with the repairs, they will also come and deliver the device to you.
What else is more interesting than sitting at home and get your Apple device fixed for you at a very cheaper cost? Aside from all that, the workers of Smartfix are very friendly and will provide you with all the information you need from them.
iStore
Just as the name suggests, iStore is an Apple store that was launched in 2009 to serve all the Apple needs of Ghanaians. They sell all the Apple products; ranging from iPhone, Apple Watch, iPad, Mac, AirPods, Apple TV sets and a whole lot.
Also to that, they fix all Apple products as well at an affordable rate. They can be found at the Accra and Kumasi shopping malls.
Apple Service Center
Apple service center is the last (but not least) Apple service centre on our list today. They are located at Madina in the Greater Accra Region of Ghana.
Their services involve fixing all malfunctioning Apple products you have at a cool price. You can visit them if you live around Madina and its surrounding towns.
In conclusion, these are the trusted Apple service centres in Ghana, and if you have visited any of them before you can share your experience in the comments section below.
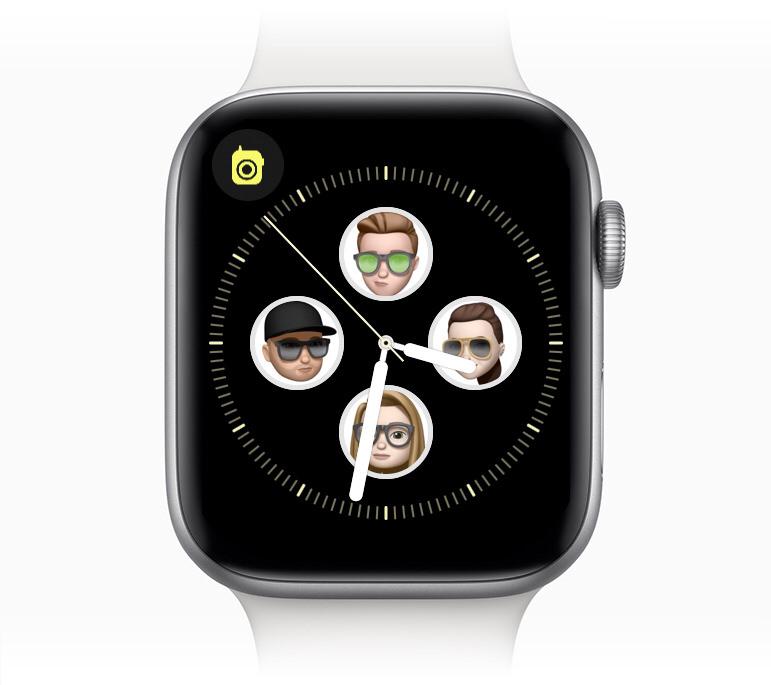
Do you want to make a memoji on your Apple Watch? This guide will show you how to make a memoji on your Apple Watch.
Apple Watches are one of the smartest mobile watches in the world and as such, performs many smart things. You can use your Apple Watch to listen to music, get healthy, make appointments, and a whole lot of other interesting things that even some mobile phones cannot perform.
One of the other things that the Apple Watch can do is make a memoji. For Apple WatchOS 7 above, you can create a memoji that looks exactly like you on your Apple Watch without using your iPhone.
Initially, the Memoji app was available only on iPhones but Apple introduced it on the Apple watchOS 7 and above.
What Are Memoji?
Memoji are small avatars you can create to use your voice and replicates your facial expressions. Memoji is similar to Snapchat’s Bitmoji and Samsung’s AR Emoji.
These Memoji can look exactly like you (or a version of you with, say, black skin, black hair, rasta, man bun, afro, or a cowboy hat, etc). You can send your Memoji on Messages, WhatsApp, FaceTime, etc.
How to Make a Memoji on Apple Watch
To make a memoji on your Apple Watch, follow the steps below:
On your Apple Watch, open the Memoji app. This app looks like a Memoji.
If you have created a Memoji before, you can tap on it to edit.
If it’s your first time you are creating a Memoji or you have created one already, tap on the “+” icon.
Tap “Skin” and then use the Digital Crown to choose your preferred skin colour. After that, swipe up to select the additional options.
Once the Skin setting matches the one you like, tap on the Skin label at the top to go back to the rest of the settings.
Continue through the list to customize the entire Memoji, following the same instructions that you used to customize the skin. You can tap the Memoji on the display to view different expressions, and also use pinch gestures to zoom in and out.
When you’re done with the customization, tap on “Done” to add the Memoji to your list of Memojis in the app.
How to Delete a Memoji on Apple Watch
In case you have an existing Memoji that you want to delete, you can follow the steps below to delete your Memoji on your Apple Watch.
Open the Memoji app on your Apple Watch.
Use a swipe gesture or the Digital Crown to see the Memoji you want to delete. (Depending on the number of Memoji you have).
Tap on the Memoji you want to delete.
Use a swipe gesture or the Digital Crown to scroll to the bottom of the options.
Tap on Delete and then Delete again to confirm your deletion of the Memoji.
Conclusion
Some other options are available for you. You can duplicate your Memoji, set it as the face of your Watch, etc. Once you are done, you can use it whenever you are using Message, FaceTime, and the other social media platforms that accept Memoji.
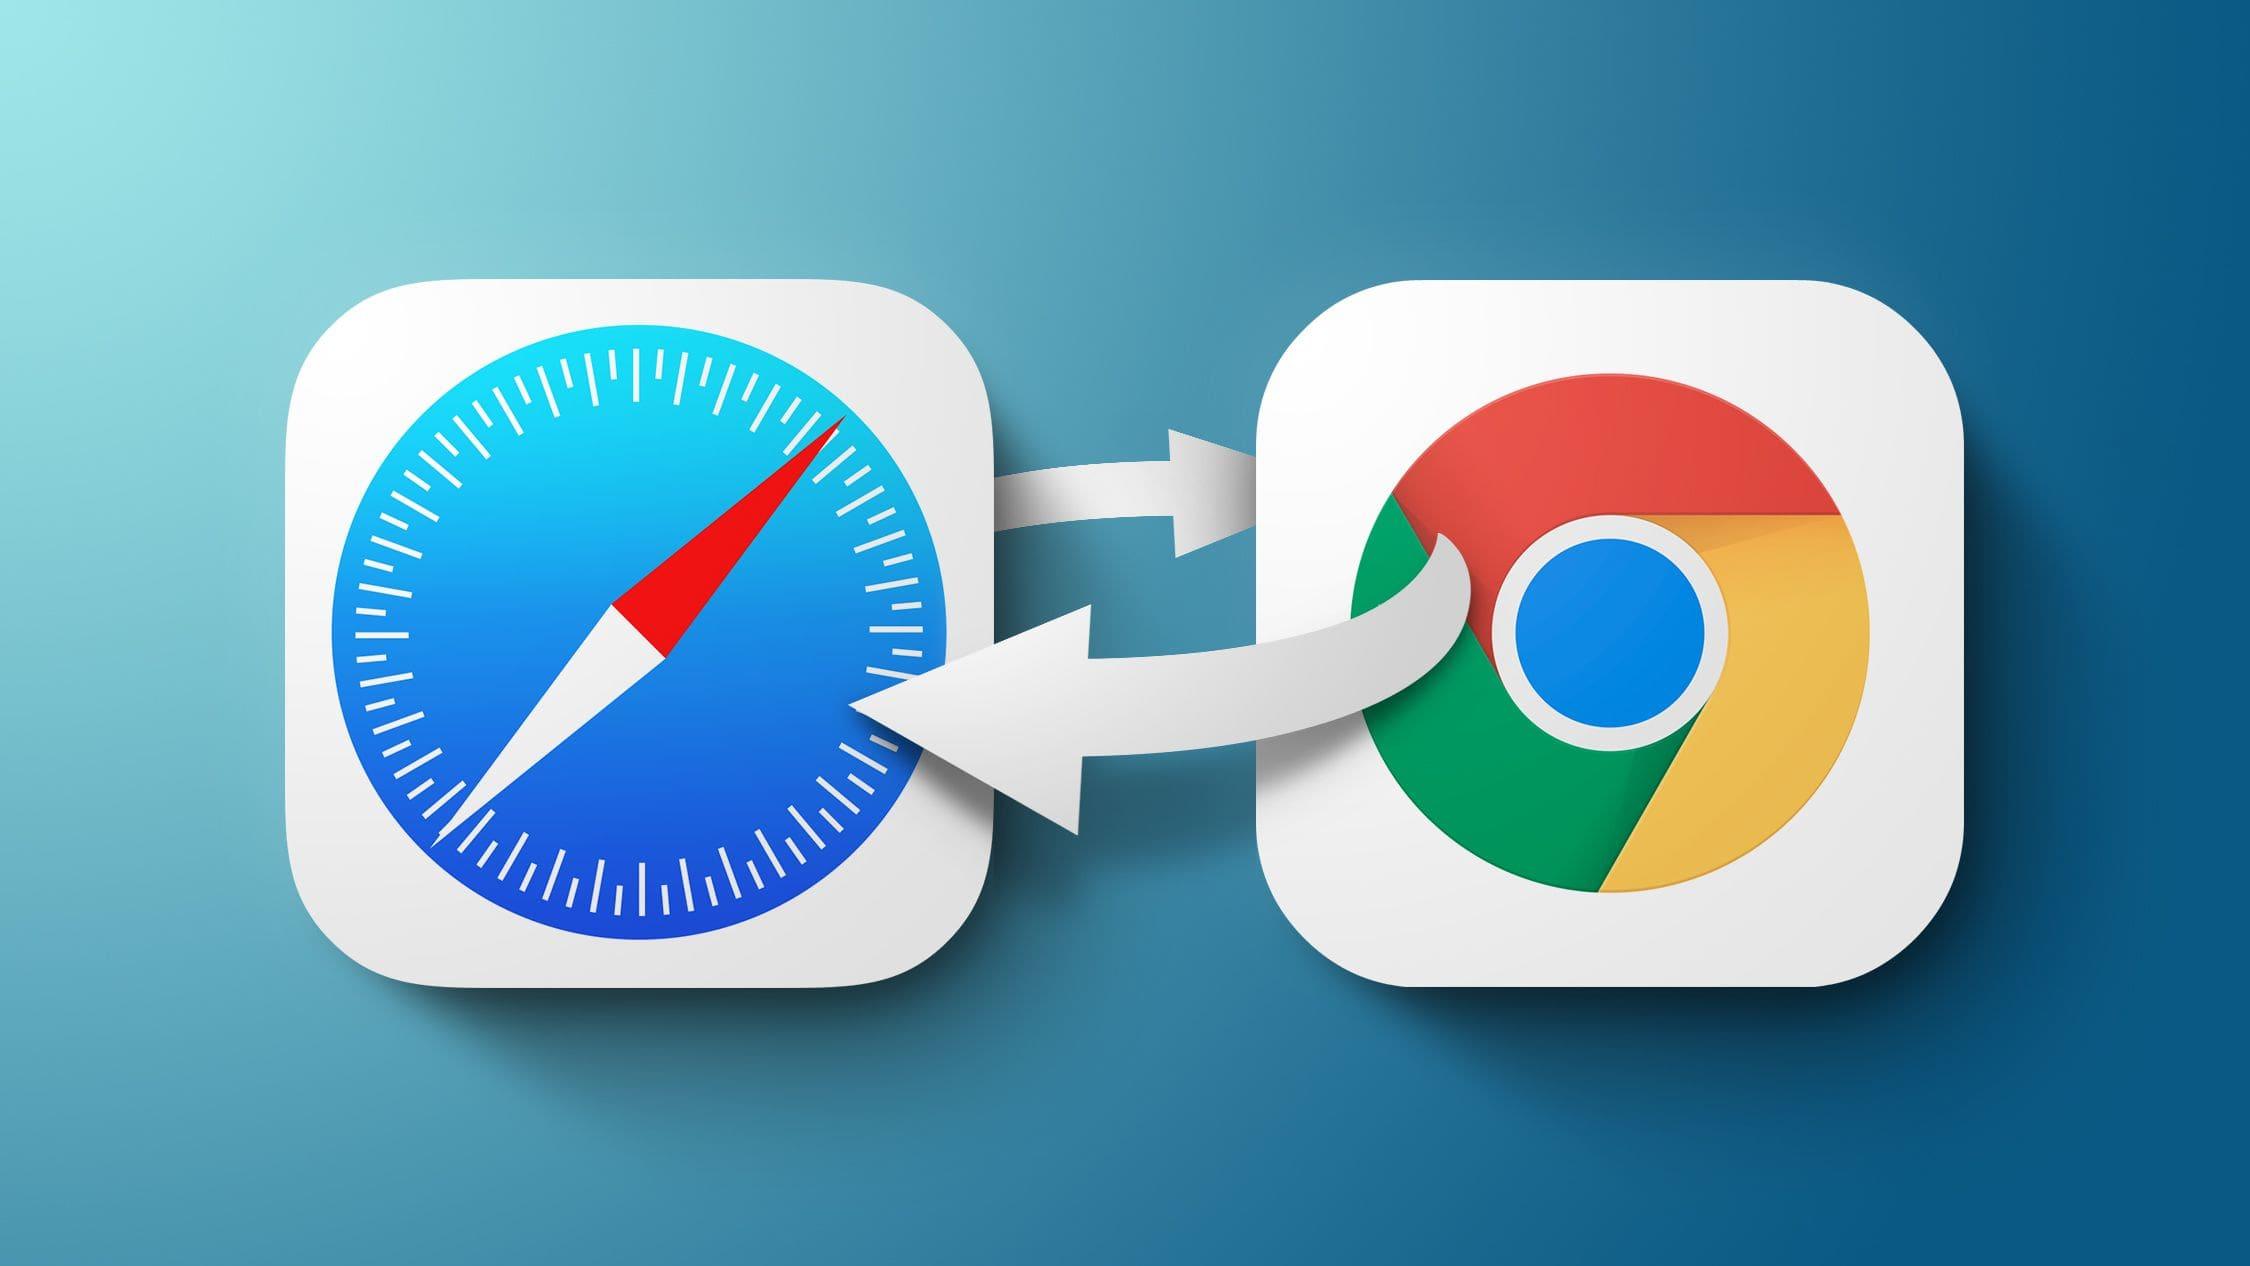
Are you tired of using Safari over and over again as your default web browser on your iPhone or iPad? Then, I am going to show you exactly how to change the default web browser on iPhone & iPad from Safari to Chrome, Mozilla, or vice versa.
For a long time, Safari has been the default web browser on iPhones and iPads. Although you could download other web browsers from the App Store, it wasn’t possible to make them your default browser.
This meant that, before you could open an automatic redirect link from an app in any other browser other than Safari, you had to copy the link from Safari and paste it in the browser you wanted to open the link with.
It was annoying and frustrating, but thankfully, if you have an iPhone or iPad running iOS 14 or iPadOS 14, or above respectively, you can change your default web browser. This has come to relieve the worries you would have faced a few years and months ago.
Now you can look on the Apple App Store on your iPhone or iPad and look for any web browser you want to use as your default browser and it will be possible.
How to Change The Default Web Browser on iPhone & iPad
First of all, before you proceed with anything, you need to make sure that you have downloaded the web browser you would like to use as your default browser. These browsers are mainly, Chrome, Firefox, and Edge. Also, make sure that the browser has been updated to the latest version.
On your iPad or iPhone, open the Settings app. If you have a lot of apps and cannot find it, use the search bar and type Settings.
Scroll through to locate the browser you’d like to use as your default browser. Once you locate it, tap on it.
In the app’s settings, tap on Default Browser App.
A list of all installed web browsers will be shown. Tap on the browser you want to make your default browser and see if a blue check sign appears next to it.
Once it is done, tap the Back button and exit Settings.
Open an app and try to open a link to see if it will open in the new browser you have set as your default browser.
NOTE: This works on iOS 14, iPadOS 14, and above ONLY.
Conclusion
Well, Apple has now attended to the cry of their users and has removed the monopoly power that Safari had on the iPhone and iPad.
This guide has been written to help everyone, whether you know a lot about tech or not. But, if you face any challenge, feel free to write it down in the comments section below.
The debate between iPhone users and Android users as to which of them is better than the other is an unending one. However, one thing remains constant. The manufacturers of both operating systems will continue to release new devices and newer versions of their operating systems.
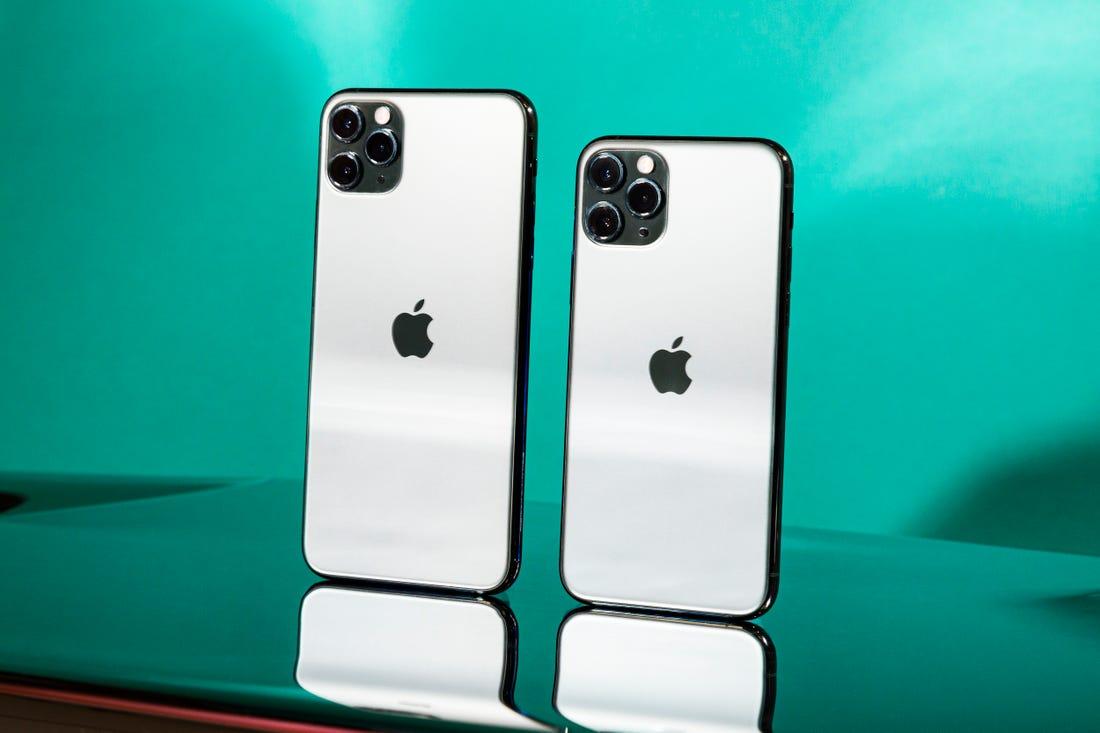
The latest iPhones in town are the iPhone 12pro and 12 pro-Max. If you want to stay on top of the iPhone trend amongst your friends, then you should get one of these phones for yourself today.
Obviously, the next question you’d want to ask is; why should I buy the iPhone 12pro or 12 Promax? If this is your question, then worry not. You are at the right place.
In this article, we shall look at the specifications of both phones, their prices and where to buy them in Ghana.
Sounds interesting, right? Let’s get into the details right below.
iPhone 12 Pro Specifications
Apple’s iPhone 12 Pro was initially announced on 13th October 2020 and released on 23rd October of the same month. It has body dimensions of 5.78 x 2.81 x 0.29 inches with a weight of 189g. The Phone’s front and back are covered with Corning Gorilla Glasses.
It has a single Nano-sim version and also a Dual Nano-Sim version for China. The device is Ip68 rated meaning it can be submerged in water for about 30 minutes. It is also dust and scratch-resistant.
Apple’s Display is something we all respect. And it only gets better with the new iPhone 12 Pro. It comes with a Super Retina XDR OLED screen with a screen size of 6.1 inches. Its screen resolution is 1170 x 2532 pixels. The phone also runs on the IOS version 14.1 which is further upgradable to version 14.2.
It operates on the Apple A14 Bionic Chipset and boasts of a Hexacore processor made up of two 3.1GHZ cores and four 1.8GHZ cores. The GPU of this phone puts it far above other competitors. It runs on the Apple GPU with four cores.
As expected of a typical iPhone, the iPhone 12 pro doesn’t support external memory cards. However, its internal memory capacity is either 128GB, 256GB or 512GB. For speed and reliability, the iPhone 12 pro runs with a 6GB RAM.
If there’s a major reason for people making a purchasing decision to acquire an iPhone, it mostly has to do with camera quality. Apple has this at the back of its mind so no, they’ll never downplay the essence of the camera quality on their newest release. The new iPhone 12 pro packs a whooping Quad primary cameras. Each camera having a 12MP Lens. Awesome, right? This can take care of your professional photography needs. The primary camera also produces video of the following qualities; 4K@24/30/60fps, 1080p@30/60/120/240fps.
This phone’s secondary camera is made up of two lenses, one with 12MP power and the other with an SL 3D power. It produces video at the following qualities; 4K@24/30/60fps, 1080p@30/60/120fps.
Well, it’s been good news all through this write-up. Maybe it’s time to bring one bad news. The iPhone 12 Pro is no different from the iPhone 12 and 12 Mini when it comes to battery capacity. The 12 Pro has a battery capacity of 2817 MaH which is pretty bad for those who might want to abuse the Quad Camera of this phone.
This phone generally supports Fast charging 20W, Qi fast wireless charging 15W, Face ID, Accelerometer, gyro, proximity, compass, barometer, Siri Natural Language Commands and dictation. It also supports NFC, Bluetooth 5.0 and USB 2.0.
iPhone 12 Pro Max Specifications
Unlike the iPhone 12 Pro, the 12 Pro Max is yet to be released. However, it is expected to be released on the 13th of November 2020. It’s expected to have body dimensions of 6.33 x 3.07 x 0.29 inches and weight of 228g. Weighing 39g more than the 12 Pro.
Like the iPhone 12 Pro, Pro Max is also expected to have Gorilla Corning Glasses both in front and behind. It is also expected to have a stainless steel frame.
The iPhone 12 pro-Max also has a Super Retina XDR OLED screen of 6.7 inches and a screen resolution of 1284 x 2778 pixels.
Both iPhone 12 Pro and 12 Pro Max have the same Memory capacities and RAM capacities. They also have the same camera specifications and video quality.
However, the 12 Pro Max is not only big in size. It is actually big on battery capacity too. With an amazing 3687 mAh Lithium-ion battery, the iPhone 12 Pro Max is a good one for those who want to enjoy their camera without having to break severally to charge their phones.
The 12 Pro Max supports Fast charging 20W, Qi fast wireless charging 15W, Face ID, Accelerometer, gyro, proximity, compass, barometer, Siri Natural Language Commands and dictation. It also supports NFC, Bluetooth 5.0 and USB 2.0.
However, if you want to listen to live radio on your phone, you have to download an app for that since the iPhone 12 Pro Max doesn’t come with an in-built radio App.
Price And Where To Buy iPhone 12 Pro And 12 Pro Max In Ghana
Apple’s iPhone 12 Pro is presently in Ghana but in limited numbers. You can, however, get one from trusted iPhone outlets in Accra or any trusted online stores such as this. The price for a brand new iPhone 12 pro in Ghana is between GHS 8,000 to GHS 10,500. For the Pro Max, you can only purchase it on Apple’s Official Site for now. And it costs an equivalent of GHS 7,300 on the official site.
Are you seriously interested in the iPhone 12 series but not too sure you can afford the Pro or Pro Max? Worry not. You can check out the iPhone 12 and 12 Mini here.
Conclusion
The iPhone craze is such that you have to be able to keep up with the latest trends on the market. So, the latest series on the iPhone market is the iPhone 12 series. Topping the list are the iPhone 12 pro and 12 Pro Max. While the latter is yet to be released, the former is already on the market and enjoying good sales.
In this article, we looked at the specifications of both devices and how to purchase them in Ghana.
Do you have any questions, comments or reservations regarding this article? Kindly let us know in the comment box below or contact us.
Please do well to share this article with your friends and relatives.
Wouldn’t it be great if you could just buy one package and enjoy almost all the Apple Subscriptions? I am going to show you how to sign up for Apple One on your iPhone, iPad, or Mac.
One of the most annoying things with Apple products is the purchasing of subscriptions. This could range from Apple TV, Apple Music, iCloud Storage Plan, etc.
Because of these challenges that users face every day, Apple decided to bring Apple One to solve the problems.
What is Apple One?
The question you might be asking yourself is what at all is Apple One? Well, let me explain to you what Apple One is entire.
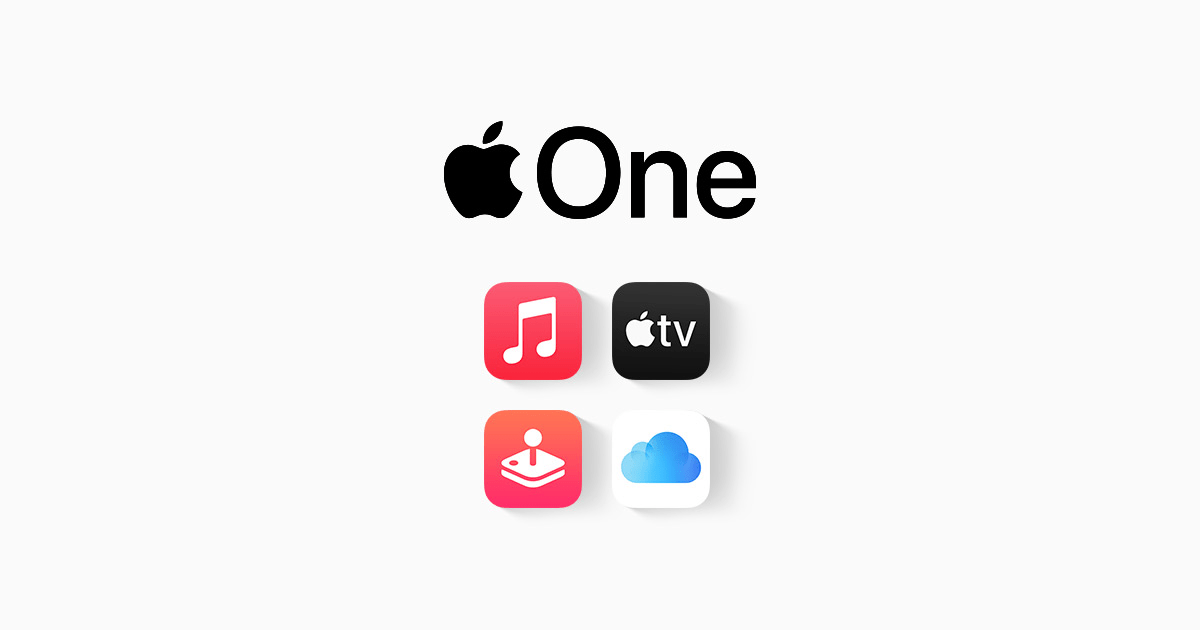
Apple One is a subscription plan launched by Apple to solve the problems of users buying individual Apple subscription packages. With Apple One, you just buy one Apple One package and you will enjoy almost all the Apple subscription packages.
The packages (products) you will get depend on the Apple One subscription package that you buy. In addition to getting all your Apple products in one place, you also enjoy some amount off; comparing it to when you buy the packages individually.
What Are The Available Apple One Plans?
There are three (3) available Apple One plans depending on what you want and if you can afford it or not. These three (3) packages are:
Individual ($14.95/month)
The Individual plan includes Apple Arcade, Apple Music, Apple TV+, and 50GB of iCloud storage available for only one user. The Individual plan saves you $6/month if compared to the normal Apple packages.
Family ($19.95/month)
This plan includes Apple Arcade, Apple Music, Apple TV+, and 200GB of iCloud storage which can be shared with six (6) users. The Family plan saves you $8/month if compared to the normal Apple packages.
Premier ($29.95/month)
The last plan is the premier plan and it includes Apple Arcade, Apple Music, Apple Fitness+, Apple News+, Apple TV+ and 2TB of iCloud storage and can be shared among six (6) users. This plan saves you $25/month compared to the normal package.
In addition to it, you enjoy a one-month free trial after which you will be charged. You can cancel anytime you want.
How To Sign Up For Apple One On Your iPhone, iPad, Or Mac
The steps involved in registering are easy and quick and you can follow the steps below.
How To Sign Up For Apple One On Your iPhone Or iPad
On your iPhone or iPad, open the Settings app.
Tap on the Apple ID at the top of the Settings page.
Scroll through and tap on Subscriptions.
On the Apple Services page, tap on Apple One.
Choose your preferred Apple One subscription plan.
Next, tap on Start Free Trial.
On the Apple Pay page, double click the side button to confirm your subscription.
How To Sign Up For Apple One On Mac
On your Mac, go to System Preferences and then Click on your Apple ID.
Select Media & Purchases.
Click the Manage button next to Subscriptions.
The App Store will automatically launch, click on Apple One.
Choose your preferred Apple One subscription plan and complete the registration.
NOTE: You can also, visit the official Apple One page to register for Apple One on either iPhone, iPad, or Mac.
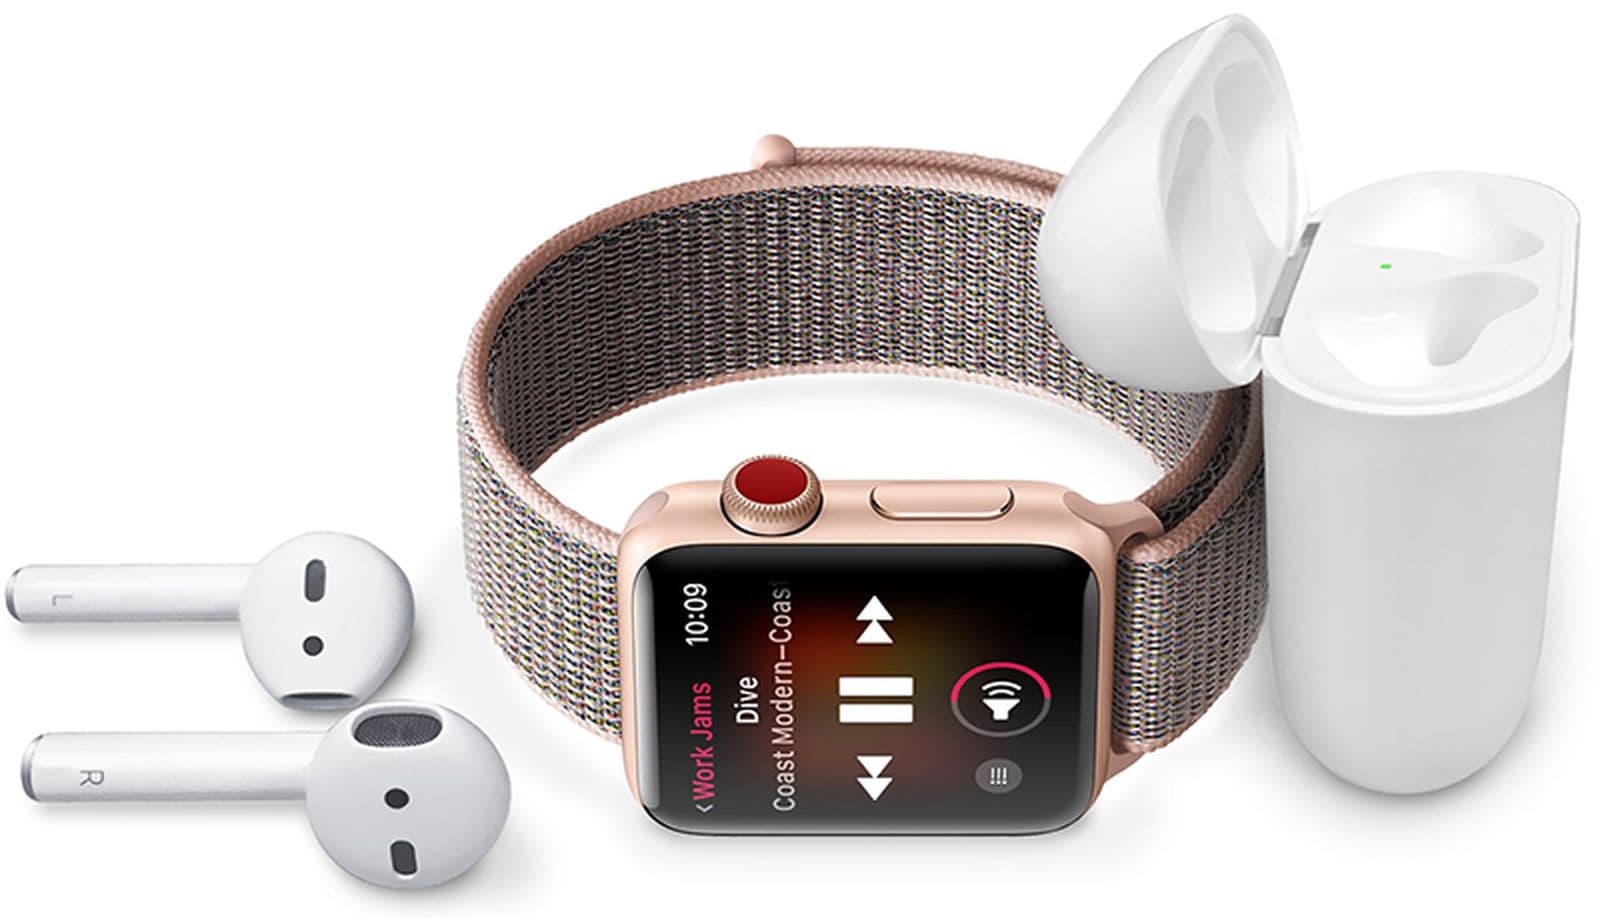
Do you want to listen to music on your Apple Watch? Did you know you can listen to music on your Watch even without your iPhone? In this guide, I am going to show you how to listen to music on your Watch.
Apple Watches are one of the smartest digital watches in the world. Since they were first manufactured some years ago, they have been able to gain public attention.
If you are a user of any Apple Watch Series 3 and above, with/without an active internet connection you can listen to music on it; if when your iPhone is not around you.
You can also listen to Apple Podcasts and audiobooks on your Watch. The only requirement is that you need to connect your watch to a Bluetooth headphone or speaker.
If you want to stream the music on your watch, you need to have active cellular internet or Wi-Fi. But if you want to listen without an internet connection, you need to sync your music from your iPhone to your Watch.
How To Sync Music From Your iPhone To Your Apple Watch
To carry out this, you need to put your Apple Watch on charge and also bring your iPhone closer to the Watch.
On your iPhone, go open the Settings app. Tap on Bluetooth and turn it on.
On your iPhone, open the Apple Watch app and then tap on the My Watch tab.
Scroll through and tap on Music.
On the screen click on the “+” icon to add music to your watch. Similarly, you can tap on the “–“ icon to remove music from your library.
Check through the tracklist and click the “+” icon next to it to add it to the library. You can also add Albums to your library.
NOTE: Make sure you have downloaded the music on your iPhone if you can’t find it in the list.
How to Listen To Music On Your Apple Watch
As stated earlier, you can listen to music on your Apple Watch in two main ways.
By using the internet and by using no internet.
How to Listen To Music On Your Apple Watch Using Internet
Connect your Apple Watch to your Bluetooth headphone or speaker.
Open the Music app on your Apple Watch, search for the music and tap on play.
How to Listen To Music On Your Apple Watch Without Internet
To do this, you, first of all, need to sync the music from your iPhone to your Apple Watch. Once you are done, connect the Apple Watch to your Bluetooth headphone or speaker.
Open the music app on your Apple Watch.
Scroll through the music and tap on the one, you like and enjoy your music right from your Apple Watch.
If you want to control your music, you can use the Play/Pause and Previous/Next button.
Additionally, you can change the volume of the music by turning the Digital Crown on your Apple Watch.
Conclusion
In this guide, I have explained all you need to know about how you can listen to music on your Apple Watch. Now that you have this guide enjoy your music right from your Apple Watch.