The majority of modern digital TVs now include built-in capabilities that let the user see satellite TV channels or Digital Terrestrial TV channels. A new technique that combines digital satellite and terrestrial TV signal decoding software with smart interactive television capabilities makes this feasible.
However, there have been several complaints that many digital TV consumers find it challenging to activate and utilize these value-added satellite and terrestrial TV decoding devices. I’ll provide further information about how to activate your satellite TV or the built-in digital terrestrial TV in this article.
Digital TV Overview
In order to buy a digital TV with an integrated cable or satellite TV channel system, you must first determine whether the technology brand or the signal service provider is offered in your region.
Because the DSTV satellite TV signal provider has reached the whole Ghanaian skyspace, for instance, an LED smart TV with an integrated DSTV channel system would function everywhere in Ghana.
So, if you’re unsure whether the satellite TV branch is offered in your region, you might need to get in touch with a local expert or dealer to find out.
Despite how crucial television is to a lot of people, the technology that underpins the medium hasn’t advanced significantly since its invention.
Do you still require a separate decoder to get signals from major radio stations in this day and age of Smart TV and digital TV proliferation?
However, it is not surprising to learn that some of you have digital TVs but are unaware of their capabilities, or that some of you don’t even know that the TV on your TV stand is a digital TV and that you can use it to watch free-to-air cable and satellite channels from some independent satellite TV providers as well as with access to the internet.
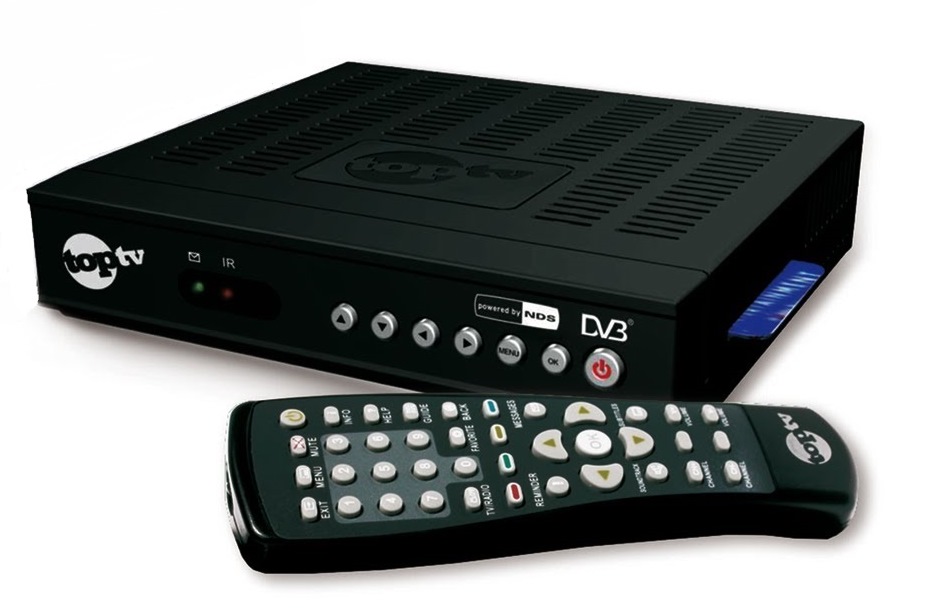
The inclusion of a decoder is one of the characteristics of Smart TVs that allows them to receive certain satellite signals or channels (or an inbuilt decoder). In order to determine if your digital TV requires a decoder or already has one built in, follow the easy steps below.
How to check if your TV is a Digital TV and has an inbuilt Decoder

- Turn on the television, then select a dish from the menu.
- You can view UHF, VHF, and CABLE by using the search function.
- Your TV set should have an integrated decoder if the CABLE option appears on the search menu alongside the UHF and VHF options.
- Your built-in decoder TV makes it possible for you to receive, view, and enjoy free-to-air satellite channels from certain cable/satellite TV providers by keeping track of their proper frequency. The decoder also suggests that your TV is internet-ready.
In a very short period of time, home technology—especially TVs—has developed extremely quickly. Everyone wants a good, sparkling, functional TV at home, but the key question is what to buy.
The differences between a Smart TV and a Digital TV
Currently, one would want to have an Android-powered smart TV, but due to the cost, they choose a “digital TV. But how do they differ? Many people currently prefer to classify all modern technology as “digital,” but that isn’t actually the case when it comes to TV.
The majority of digital TVs come with a decoder service already installed, allowing you to view your preferred channels.
This is obviously done without the inconvenience of making monthly membership payments, which is incredibly beneficial. However, there could be a better, more advanced option. The smart TV comes into play here.
A Smart TV
Simply explained, a smart TV is a combination of a computer and a television that can easily access the internet and install apps without the use of an additional device. For this, they frequently include the manufacturer’s preferred web browser, making it simple to download streaming apps like Netflix and Showmax, among others.
A Digital TV
A digital TV may, however, also be used to access the internet. You just need to make sure you have a reliable internet connection and an official TV box or firestick. You may purchase these gadgets from retailers or online stores under the names of companies like Google, Apple, Amazon, Roku, and others.
Conclusion
We hope this article gives you some great insight into how digital TV works as compared to smart TV. Feel free to share your view or issues in the comment section