Despite the widespread usage of touchscreen, smartphones, and the advancements, materials used in manufacturing these screens are low in quality. This result in glitches on the screen which is rather an issue than a bug to fix.
We’ve compiled a list of possible solutions in this post that could assist in permanently fixing these glitches.
Let us tell you upfront that the glitch screen issue can be brought on by a number of environmental factors. Regular users like you and I can resolve this by performing a few basic troubleshooting steps.
Also, there may be certain situations where there will be a need to visit the service center, especially if hardware-related problems are the root of the problem.
What exactly is a glitch screen issue?
Firstly, “touch glitches” or glitch screens are used when a portion of your phone’s screen is entirely unresponsive. Also, when your screen reacts to pushes or inputs that you aren’t actually performing.
It is impossible to blame the hardware directly for screen stutters. However, It could not be the hardware of the phone but rather strange settings behavior.
What causes glitch screens?
- Environmental factors might lead to glitchy screens.
- Hardware problems that prevent the touch screen from functioning.
- Glitch Screen Resulting from Bad Drivers.
How to get rid of touchscreen glitches on mobile devices

Reset your device’s settings and keep it current
Make sure your smartphone, whether it runs iOS or Android, is running the most recent version of its software before we move on to more complex remedies like a factory reset or device disassembly.
Resetting all of your settings to default is one final attempt to fix the issue, assuming that you maintain your device updated. Although your data is automatically maintained, this process is essentially identical to a factory reset.
On iOS
- Go to settings
- Click on general
- Go to transfers or reset iPhone
- Reset and choose Reset All settings
By doing this, you won’t be deleting any of your data; instead, your device’s settings will merely be reset. Remember that clearing network settings will also disconnect your device from your Wi-Fi, so you will need to manually rejoin it. Resetting the keyboard settings and home screen configuration is also included.
On Android
You will need to do a safe factory reset on Android in order to keep all of your data while clearing all other settings.
- Enter the settings
- Select the About Phone link.
- Choose “Backup and Restore”.
Next, you may select where you want your backup to be kept: locally on your phone, locally on your computer, or on the cloud.
Take apart the screen unit (for advanced users only)
The typical smartphone user is not advised to take this step. It may be possible to resolve the problem by opening up the problematic smartphone, dismantling it, and putting it back together for people who have the necessary technical skills and tools.
Get it serviced
Even while this is a straightforward choice, it’s not likely to be the fastest unless you’re strolling into a store to hand it over for a new one.
You will likely have to pay for repairs if your device is out of warranty and you won’t be given the option of exchanging it.
Glitch screen troubles can occur for a variety of causes, as you have probably already learned. To truly understand what is causing it, you might need to do a number of actions.
The more complex techniques (apart from factory reset options) should only be carried out by a qualified technician if the simpler ones do not work for you.
How to get rid of touch screen glitches on laptops.
On Windows
There are several solutions to the glitch screen difficulties on Windows. You might attempt the below solutions to solve the issue on your own.
If you are using a tablet with a glitch screen, it is suggested that you connect a peripheral keyboard or mouse to assist with the remedy. If your touchscreen laptop starts to function properly after some time, it is advised that you rectify the issue as soon as you can.
Examine the touch screen’s functionality
If you use a laptop or tablet with a touch screen, keep it away from moist or cold areas, fluorescent lights, appliances that might interfere with the touch screen, etc. to prevent ghost touch screens or touch screen problems.
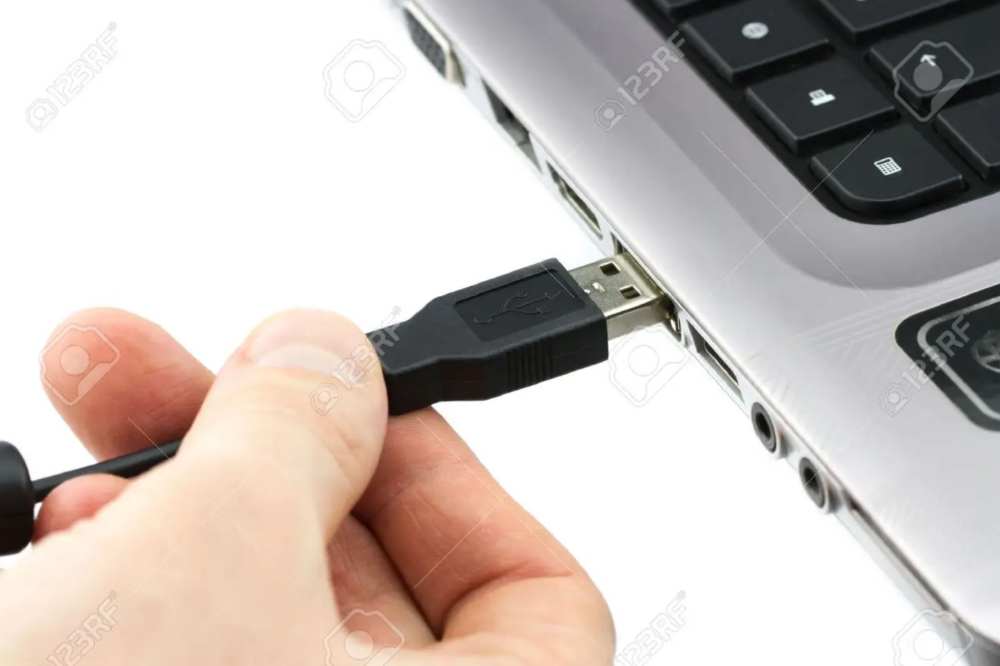
Examine the Hardware
Keep the touchscreen of your tablet or laptop clean at all times by wiping it down. Try a complete shutdown and restart of your touchscreen laptop or tablet to see if the touchscreen functions as intended.
Repair the Drivers
Windows Update’s incorrect driver updates frequently result in computer issues like the “display driver stopped responding and has recovered” error, “driver power state failure,” “laptop won’t wake up from sleep,” and others.
When you experience ghost touch screens or touch screen problems with your laptop, it’s crucial to verify that the related drivers, such as touchscreen drivers, are appropriately loaded.
Change Relevant Settings
If you have problems with your touch screen not working, calibrate it.
- Press Win + X to access the Control Panel quickly.
- Select Calibrate the screen for pen or touch input under Tablet PC Settings.
- Select the Calibrate button.
- Next, select Reset (if available).
Use the Windows 10 Troubleshooting Guide
To fix the ghost touchscreen difficulties, you might want to try using Windows 10’s Troubleshooting function. These are the steps:
- Launch the Control Panel.
- Choose Troubleshooting.
- Choose Sound and Hardware
- To start a new dialog, choose Hardware and Devices in step
- Select Next and Windows 10 will identify and fix the issue on its own.
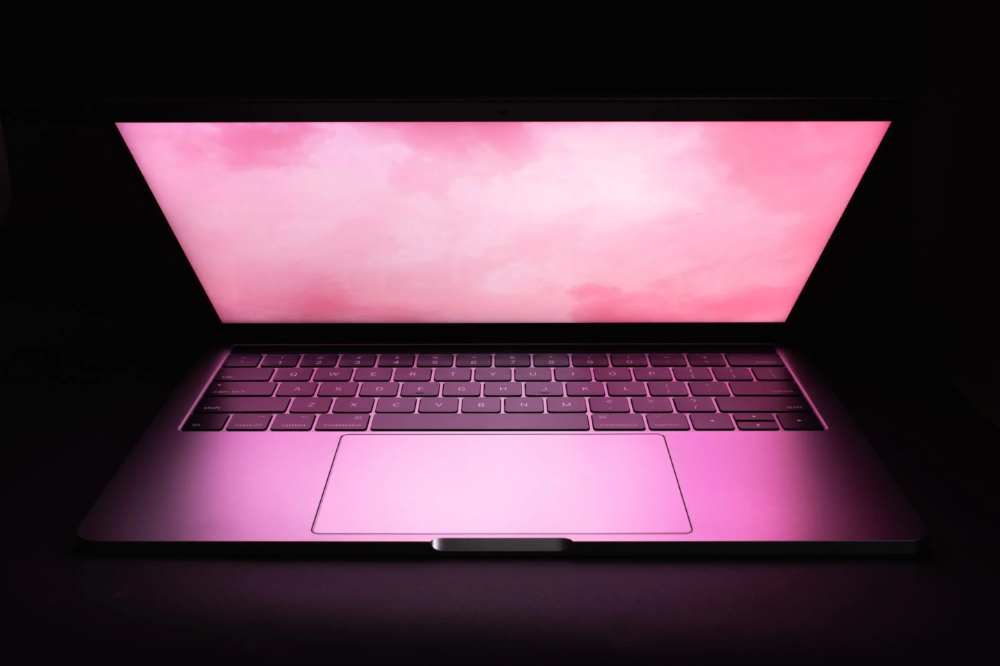
On Macbook
There are essentially 6 methods to fix Macbook screen glitching. Rather than force restarting your Macbook you can;
- Update the macOS
- Disable automatic graphics switching
- Turning off true tone,
- Restarting your mac’s SMC
- Resetting NVRAM and PRAM
- Restarting your Mac into safe mode
Conclusion
If you find this information useful, bookmark it or send it to others who are experiencing glitch screens. You can post comments below if you have any queries about ghost touch screen difficulties or touch screen not working.