Are you planning on selling your iPhone or gifting it to someone? Or are you finding some problems on your iPhone and thinking of wiping or resetting your iPhone? No problem hang on I am going to show you some of the best ways to wipe or reset an iPhone.
Before you can sell your iPhone to someone, you need to remove all your files and accounts from the iPhone. You cannot sell your iPhone to someone and leave your files and your iCloud accounts on the device.
In order to do this, you will have to wipe or reset your iPhone and all the settings, files, and iCloud accounts on the device will be removed and restored to factory settings.
Also, there might be times that you may be having some problems on your iPhone and the solution will be to wipe or reset your iPhone. This method has been used by several people who confirm that it works perfectly.
How to Back Up your iPhone
To wipe or reset your iPhone, you first of all need to back up the files and data on your iPhone to the Cloud. This will help you reinstall these documents once you log into a new iPhone or the old one.
- Open the Settings app on your iPhone.
- Tap on your name (first option in the Settings window).
- From the list of options available, select iCloud.
- Scroll down and tap on iCloud Backup and enable the feature.
- If you need it urgently, tap on Back Up Now for the iPhone to back up immediately (you need to connect to a WiFi).
- Additionally, look under the Back Up Now option to find out the last backup date and time.
How to wipe or reset your iPhone
There are several ways of wiping your iPhone but I am going to talk about only three (3) of the safest methods.
How to wipe or reset your iPhone directly using Settings on your iPhone
- Open the Settings app.
- Scroll down and tap on General.
- Swipe to the button of the window and tap on Reset.
- From the different options displayed, select Erase All Content and Settings.
- If you have an iCloud backup set up on your iPhone, you will be asked to update it to avoid loss of data. But since we have already done that, we just need to decline the update option.
- If you have a passcode on your iPhone, you will be asked to enter it and after that tap on Erase iPhone.
- Enter your Apple ID’s password to confirm your command.
- After that, all the data, settings, and anything on the iPhone will be totally wiped and you’ll be sent back to the fresh iPhone setup screen.

How to wipe or reset your iPhone using iTunes
To wipe your iPhone using iTunes, you need to install iTunes on your PC and then follow the steps listed below.
- Go to Settings on your iPhone and turn off the Find My iPhone option.
- Open iTunes on your PC and connect the iPhone to the PC using the original Apple USB cable.
- Trust the computer on your iPhone and then select your iPhone on the computer.
- Click on Summary from the options on the screen.
- Select Restore iPhone and wait for the wiping to complete successfully.
The effects will be successfully applied on your iPhone.
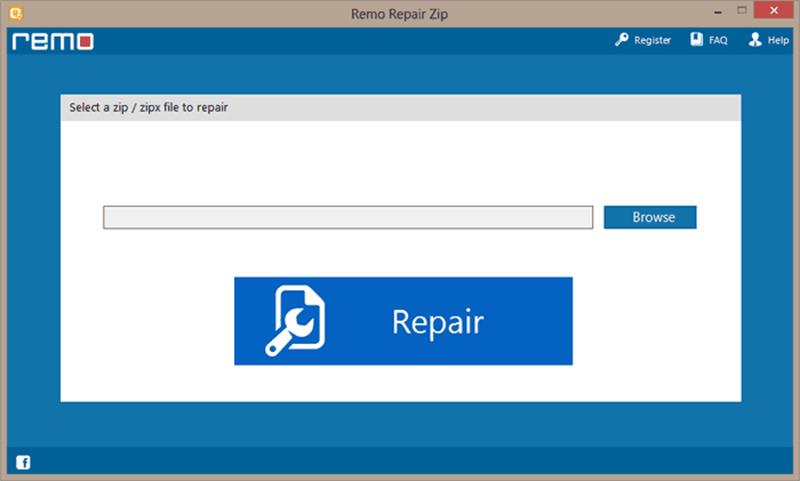
How to wipe or reset your iPhone using third-party apps on your PC

The final method of resetting your iPhone is by the use of third-party applications that are available on the internet. Each application has its own way of resetting your iPhone.
To find some of these apps, search for “Third-Party Apps that can be used for resetting iPhones” on Google or any search engine. Read through each of the recommended apps and select the one that fits you best.
Install the app on your PC and follow the instructions laid down by the developers of the app to successfully reset your iPhone. Please note that most of the apps will involve the use of iPhone USB cables.
I highly recommend that you use the first two methods stated earlier.
Conclusion
Once you have finished reading this article carefully, you should be able to reset your iPhone all on your own without spending money at the repairer’s shop.
In case you find any difficulty or you have a suggestion, make sure to write it down in the comments section below.