Pioneer has built an impressive collection of A/V receivers over the years, but at some point, they’re bound to stop working due to an internal malfunction or user error.
This can be a frustrating experience if you don’t know how to reset the receiver and get it working again properly. Fortunately, there are ways you can restore your A/V receiver to its original settings so you can get back to enjoying your favorite programs and movies with ease.
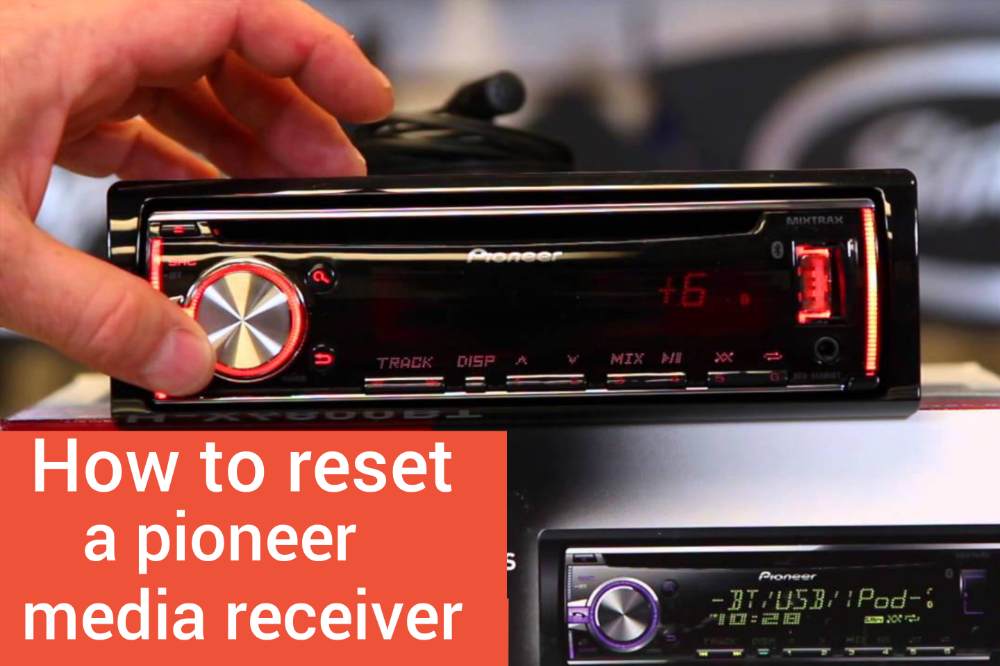
What is a pioneer media receiver

Pioneer media receivers are devices that allow you to connect your TV to other devices in your home, such as a DVD player or gaming console. They can also be used to connect your TV to the Internet.
If you’re having trouble with your Pioneer media receiver, you may need to reset it. Here’s how:
How to reset a pioneer media receiver
- Locate the reset button on the receiver.
- Press and hold the reset button for about five seconds.
- The receiver will reboot itself and should be working properly again.
- If the receiver still isn’t working, try unplugging it for a few minutes and then plugging it back in.
How to prevent your Pioneer receiver from breaking
One way to prevent your Pioneer receiver from breaking is by resetting it regularly. This will help keep the software updated and can clear any minor glitches that may have developed. To reset your Pioneer receiver, simply follow these steps above.
What can cause Pioneer receiver to stop working
There are a few things that can cause your Pioneer receiver to stop working. If you have recently updated your software, this could be the cause. Sometimes updates can cause compatibility issues. Another thing that could be causing your receiver to stop working is a loose connection.
Check all the connections to make sure they are secure. A power surge can also damage your receiver. If you live in an area with frequent power outages, consider investing in a surge protector.
How do I troubleshoot my Pioneer receiver?
If your Pioneer receiver is not working properly, there are a few things you can do to troubleshoot the issue.
- First, check all of the connections to make sure they are secure.
- Next, power cycle the receiver by unplugging it for 30 seconds and then plugging it back in.
- If the receiver still isn’t working, try resetting it by pressing and holding the power button for 10 seconds.
- If none of these solutions work, you may need to contact Pioneer customer support for further assistance.
Some common problems with Pioneer receivers
Pioneer receivers are a type of home theater receiver that are known for their high quality audio. However, they can occasionally have problems, such as:
- sound dropouts
- distorted audio
- problems with connecting to devices.
If you’re experiencing any of these issues, you may need to reset your Pioneer receiver.
Conclusion
Pioneer media receivers are great for any home theater setup. They offer excellent sound quality and a wide variety of input and output options. If you’re having trouble with your receiver, or just want to start fresh, resetting it is a good solution.