Keeping your charger in good condition is just as important as keeping your phone itself in good condition. Not only will it charge faster, but you won’t have to deal with frayed wires or corrosion that could hinder its ability to do its job effectively.
Follow these tips on how to take care of your phone charger and get the most out of it for as long as possible.
Why is it important to take care of my phone charger?
The phone charger is as important as the phone itself. The charger is what makes the phone and if it is not in good shapethen the possibility of damaging the phone is also high. A good and healthy charger gives a good and healthy phone battery.
Therefore, taking care of your phone charger is a necessity.
How to take care of your phone charger

Use an original charger
Original chargers are the best to go for if you cherish your phone. Fake chargers will not k ly last less but will also damage your phone in a short possible time. Its advisable to break all barrier if possible and go in for an original phone no matter the cost rather than settling for a low cost and fake charger.
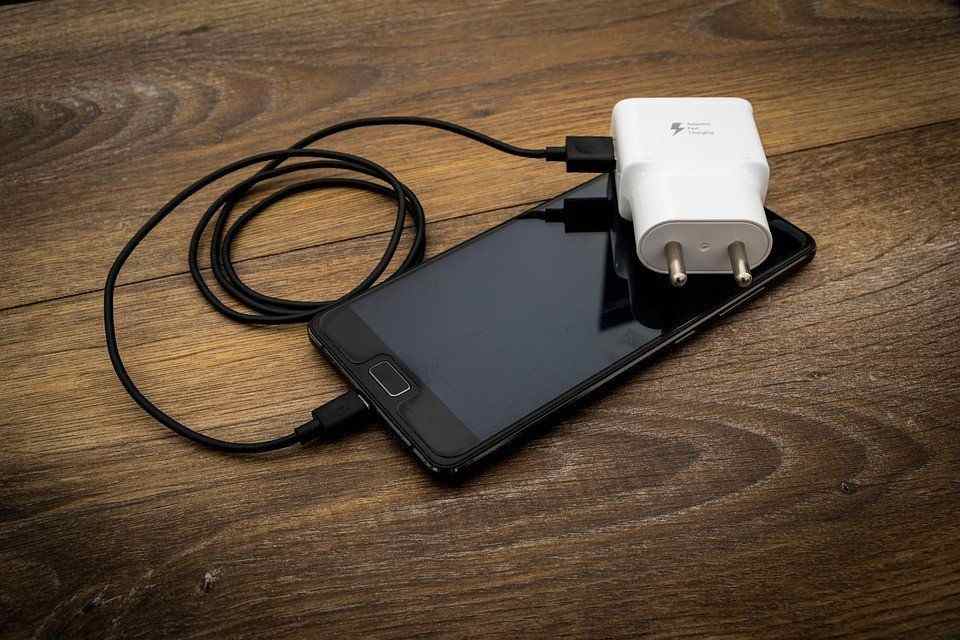
Unplug charger from socket when done using
Be gentle with your cables and unplug the power cord when you’re done charging. Do not wrap the cord around furniture or other objects. Be sure not to leave it lying on top of things like a rug that can cause tangling.
If you are storing a spare, then use a paper clip or rubber band and place it around the cord in such a way that only one end of the cord is exposed.
Do not coil your charger cable
Since charging cables are just about the most used part of our phones, it makes sense that we want them to last as long as possible. The first and most obvious advice is to avoid crumpling or crimping the cable.
This can lead to broken connections and short circuits on the inside. To make sure this doesn’t happen, be sure to fold up the cables carefully, or straighten them out before they’re completely unplugged from the device.
Do not plug charger with wet hands
If your hands are wet, clean your hands and also clean the charger before plugging. Not only will it shock you if such happens but it can also damage the fuse inside your charger if it continues.
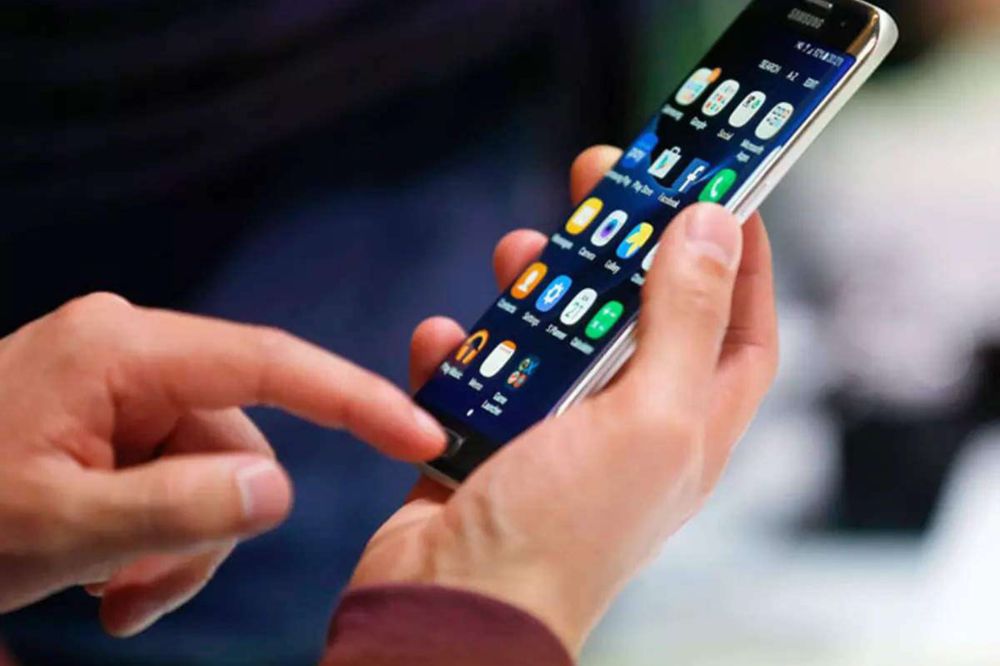
Don’t use phone while charging
One key thing that we as humans can’t avoid is the dreaded ‘Low Battery’ warning! The first thing most people do when they see this notification pop up on their screen is plug in their charger and go about with whatever they were doing.
That is bad and must be stopped. When charging your phone, its never advisable to use it. Leave it to finish charging. If not, it damages the charger strength and also the battery strength.
What are some common damages that can cause your phone charger to stop functioning
There are many different reasons why a smartphone might stop working and sometimes the problem can be fixed. However, there are also a few common mistakes that people make that end up damaging their battery and stopping it from working.
- One big one is when people use an adapter on their computer instead of using their original charger. Adapters aren’t designed for high voltage so they don’t work as well.
- Another mistake would be plugging in your phone before it’s fully charged or unplugging the charger too soon. It’s important to wait until you get a notification saying 100% before you disconnect the cable.
- Also, avoid letting metal objects touch both sides of the cord because this can cause some damage too.
Conclusion
Your phone charger is as important as your phone. Take care of your charger and your charger will also take care of your phone. If your charger gets damaged, your phone battery is also likely to get damaged and that will lead to you spending money to repair.