Mobile money fraud is on the rise in countries where it’s widely used, and it’s crucial to know how to avoid being scammed.
Move Secure Escrow by BMT Micro enables sellers and buyers to conduct secure transactions on any website that uses iFrame, such as PayPal, BMT Micro and more. But if you aren’t familiar with the escrow process, it can seem like a daunting task to set up and use.
This article will explain the escrow process and give you step-by-step instructions on how to set up your own escrow account with Move Secure.
About Move Secure

Move Secure is a secure escrow service that helps protect buyers and sellers from mobile money fraud by holding payments in escrow until both parties are satisfied.
Move Secure ensures that everyone gets what they’re owned. Their 24/7 customer support team is always available to help resolve any disputes.
What is an escrow
An escrow is a third-party service that holds funds during a transaction. This can be useful for ensuring that both parties in a deal are satisfied before money changes hands.
Escrow services can also help protect against fraud by holding onto the funds until both parties have completed their obligations. To use an escrow service, you’ll need to find a reputable provider and set up an account.
How does mobile money fraud happens
With mobile money fraud, scammers will often send a text message or email that looks like it’s from your service provider. The message will say there’s been a problem with your account and ask you to click on a link.
Once you click the link, you’ll be taken to a fake website that looks like your account site. The fake site will ask you to enter your mobile money password. Once you do, the scammers will have access to your account and can clean it out.
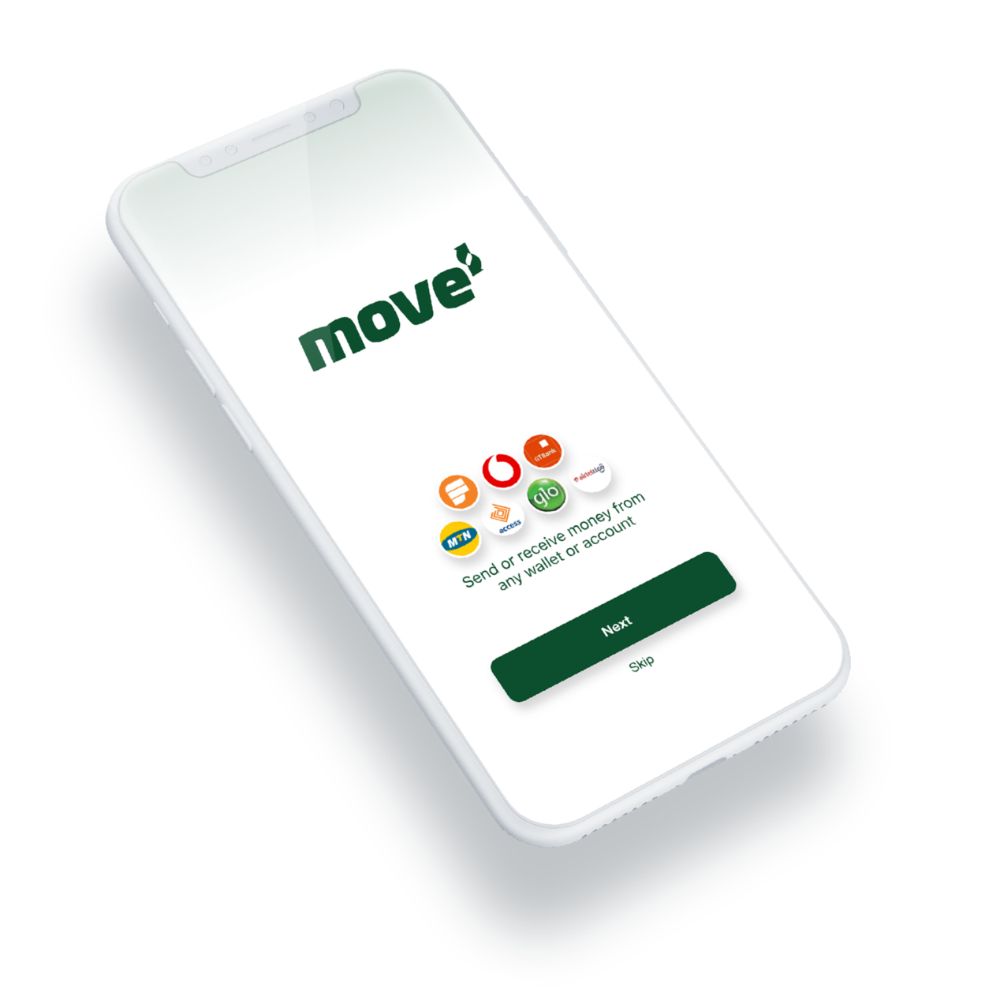
How to use move secure using mobile app

If you’re looking for a way to secure your mobile money transactions, look no further than Move Secure Escrow. This app provides a safe and easy way to send and receive money without worry of fraud. Here’s how to get started.
- Download the Move Secure Escrow Android app from the Play Store. If you are an iPhone user, you can also download the Move Secure Escrow App from the App Store.
- Click on the create account button
- Enter your email address.
- Enter your password
- Confirm your password by re-entering it in the second box.
- Fill out the rest of the information needed, including an alternate email address or phone number in case you forget your credentials.
- You now have a fully functioning Move Secure Escrow account.
How to use move secure using USSD

- Dial *718# on your device
- Select Move Secure.
- Select Make Payments.
- Enter the merchant code or phone number you are sending the money to.
- Select the network of the number.
- Enter the amount.
- Enter the description of the product or service.
- The details will be shown to you. Press 1 to confirm or 2 to Cancel.
- A confirmation will be sent for you to authorize the payment.
How to use move secure using their website

If you’re looking for a secure way to escrow your mobile money, look no further than Move Secure. Using their website is easy.
Create account
- Visit their website https://movegh.com
- Select merchant sign up.
- Provide your name and number
- Fill in the necessary information required
- Click on next to proceed and create your account to send and receive money.
Send money
- Add your desired amount of funds, and then select your recipient.
- The funds will be securely held until both parties confirm that the transaction is complete.
- This way, you can rest assured that you won’t be scammed out of your hard-earned money.
Conclusion
If you’re selling something online, especially if it’s a high-value item, you should definitely consider using Move Secure Escrow. By doing so, you can protect yourself from mobile money fraud and scams. It’s a very easy system to use and it’s completely free. So there’s really no reason not to use it.