Have you ever wished you could multi-task on your Android device by using two (2) apps at the same time? If you are someone who works with his/her Android device, i.e., smartphone or tablet, then I am sure it has come to mind.
For some time, most Android users were complaining of the inability to multi-task on their devices. As a result, they were only allowed to use one app at a time. But after the release of the split-screen feature on Android, the rest is history.
In this guide, I am going to show you how to use a split-screen on your Android device. Continue reading to find out how you can do this in just some simple steps.
Since the inception of the Android Operating System (OS) some few years ago, one of the biggest features that have ever been released is the introduction of the split-screen feature.
Most of the latest Android phones and tablets from different manufacturers now allow their users to use two (2) apps simultaneously using the split-screen feature. For Windows users who have used this feature before, you know how important this feature is.
As usual, not every Android device supports the split-screen feature but if your device happens to support it, then you find it very useful.
What is Split-Screen?
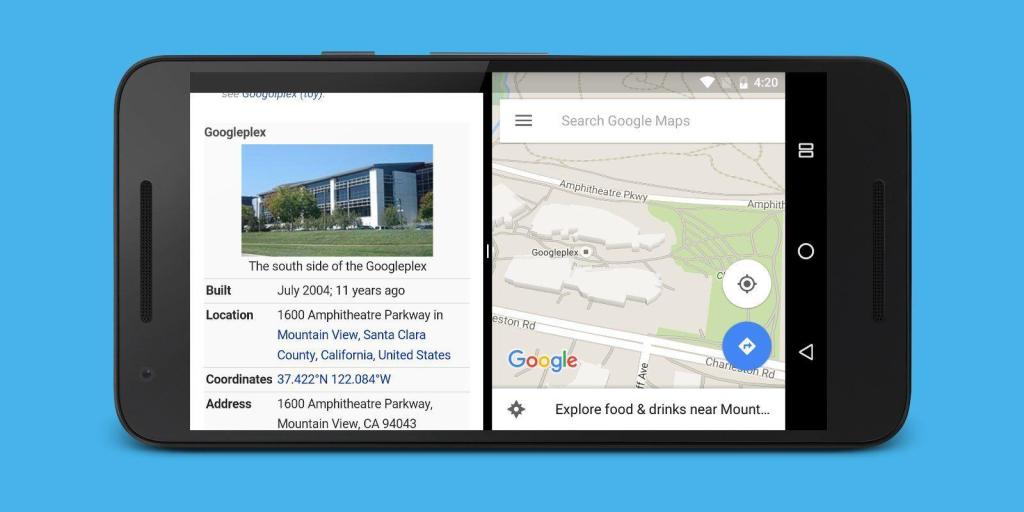
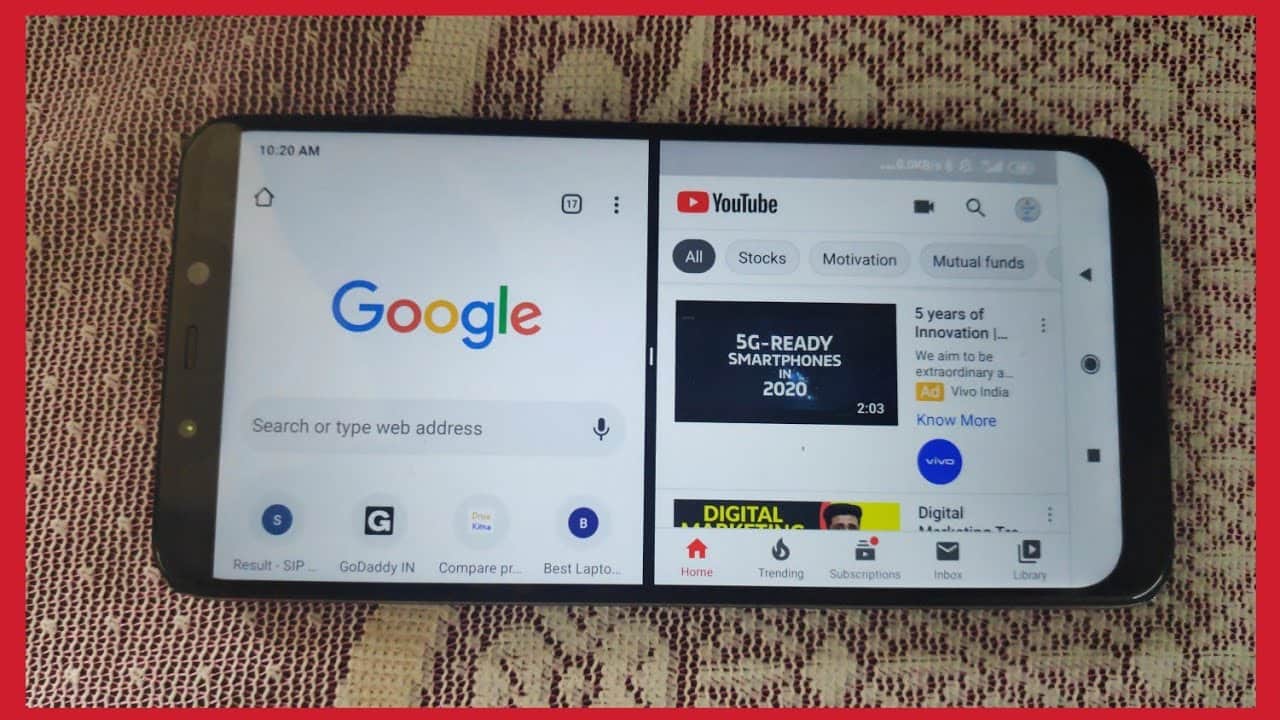
Split-screen is a feature that allows users of compatible devices to use two (2) apps at the same time without having to close either of them. For example, if you are writing something from an online source, you can open the web browser and then open the word processing or note app on the same screen at the same time.
Therefore, you have the liberty to do what you would have needed two (2) devices to do on just one (1) device. That sounds cool, right? Now let’s find out how you can use the split-screen feature on your Android device.
How To Use Split-Screen on Android
For you to use split-screen on your Android device using the methods listed below, you need to have an Android device running Android 7.0 or higher. If your Android device does not have Android 7.0, check whether you can update it to Android 7.0 and do that before following the steps listed below.
There are two (2) main ways you can use split-screen on your Android device, using the gesture method and the button method.
How To Use Split-Screen on Android Using Gesture-Based Navigation
- Open the two (2) apps you wish to use in the split-screen mode
- Swipe up slowly from the bottom of the screen for the app switcher to come up
- Press and hold the icon of the first app you want to use or press and hold the body of the app (this depends on the type of Android device you are using)
- Tap Split screen or Open in split screen view on Samsung devices
- Choose the second app you wish to use in split-screen mode
- Now enjoy split screen on your Android device
How To Use Split-Screen on Android Using Button-Based Navigation
- Open the two (2) apps you wish to use in the split-screen mode
- Tap the app switcher button at the bottom part of the screen
- Press and hold the icon of the first app you want to use or press and hold the body of the app (this depends on the type of Android device you are using)
- Tap Split screen or Open in split screen view on Samsung devices
- Choose the second app you wish to use in split-screen mode
- Now enjoy split screen on your Android device
Conclusion
Henceforth, you should be able to use the split-screen feature on your Android device without any issues. All you need to know has been explained in this article.
If you face any challenge while following the steps listed above, feel free to reach out to me in the comments section below and I will make sure to help you it as soon as I can.