Are you wondering how your sleep cycle is going? Do you have a hard time sleeping and was wondering about your sleep cycle? If so, then you can do so with your Apple Watch’s built-in sleep tracker.
In this article, I will be showing you how to track your sleep on your Apple Watch without installing any third-party apps.
Previously, tracking your sleep and sleep cycle wouldn’t have been possible unless you use a third-party app. But with the release of the Apple watchOS 7, Apple introduced a new built-in sleep tracker.
Although the Apple Watch’s sleep tracker can get the job done, it doesn’t have all the needed features to track your sleep.
So, if you really want to know the details of your sleep then you can go ahead and download a third-party app. But basically, the Apple Watch can perform this task very well.
All you have to do is to wear your watch when you are going to sleep and it will go ahead and monitor your sleep, the duration of your sleep and how deep you sleep during this period.
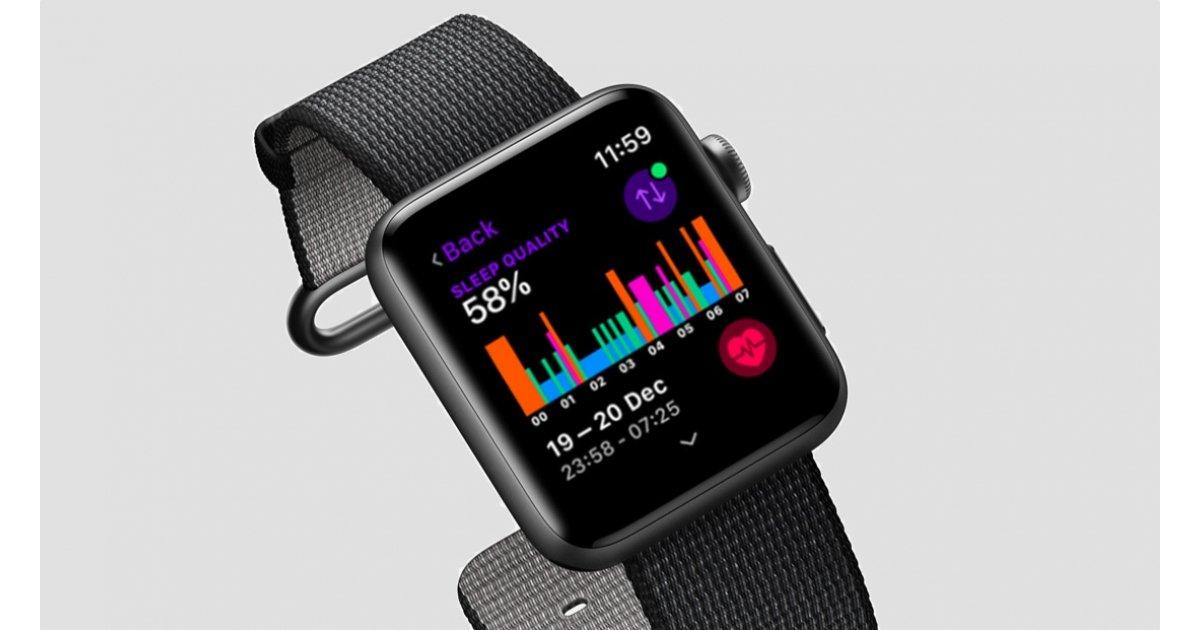
The apps will automatically transfer the chart to your iPhone that you have connected to your Apple Watch. This way, you can view your sleeping cycle and pattern the next morning and then make your own analysis of it.

How To Track Your Sleep On Apple Watch
Before you can track your sleep on Apple Watch, you need to make sure that your Watch has watchOS 7. Also, your connected iPhone must be an iPhone 6s or later and running iOS14. You can update your iOS if it doesn’t meet the requirements.
Also, you need to power your battery before you go to bed. (You don’t want your watch to go off in the middle of the night). Afterward, you can follow the steps below to track your sleep on your Apple Watch.
- On your iPhone, open the Watch app.
- Scroll through and then tap on Sleep.
- Toggle the switch next to Track Sleep with Apple Watch to start monitoring your sleep.
How To Set Up Sleep On Your iPhone
After turning on the Track Sleep with Apple Watch, you need to set up the sleep and sleep goals on your iPhone. Follow the steps below to do that:
- Open the Health app on your iPhone.
- Under Set Up Sleep, tap on Get Started >> Next.
- Follow the prompts to establish your sleep goals, bedtime and wake-up times, sleep mode, track sleep with Apple Watch.
Conclusion
Because the Apple Watch has a tracker, you need to make sure that your Apple Watch is worn comfortably. If you choose to wear it loose, it will track more movements than normal in your sleep.
Also, make sure that you have turned on charging reminders so that you will not forget to charge your watch before bedtime.
The sleep chart is a complete one and it tracks the times you wake up during your sleep. You can even set up a reminder for your Watch to wake you up whenever it’s time to wake up.