Best video editing software’s are costly to get. Video editors like Adobe after effects, premier pro, final cut pro and others come at a cost. The adobe creative suite in itself comes at a monthly subscription.
To have a professional video editing software, one has to invest a lot. Because of the high cost involved in getting a professional video software, finding the best free video editing software should be a core part of a business or any individual who wants to create winning content with videos.
Alternatively, there are free video editors available that can serve your purpose for professional video content creation.
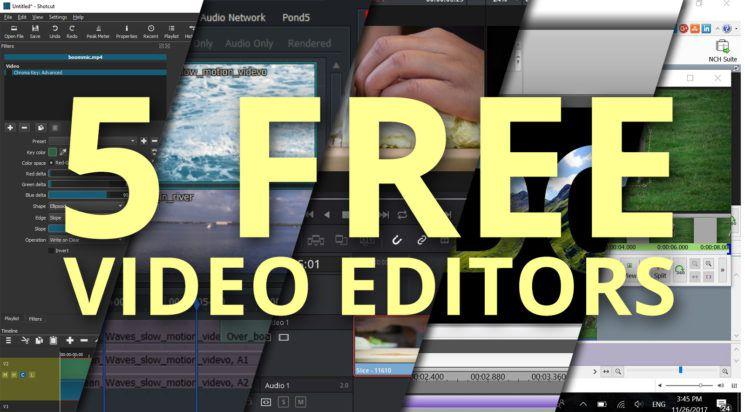
In this article, I will talk about five of the best free video editors for windows you need to try your hands on. My compilation focuses on the most versatile editing software for videos that can serve your needs.
While I take into consideration individual differences and needs, this article will provide the pro’s and cons of each video editor so you can choose your preference.

Best Free Video Editors For Windows
Below are the five best editing software for windows. All these editor software’s are free to use. There are free tutorials on all the editing software from the publisher’s website or you can source for tutorials on youtube on how to use each editing software if you are a beginner.
Blender
Blender is one of the best free editing software on the market. It is available on Windows, Mac and Linux. Blender is open-source and also free to use.
The editing software was purposely designed for 3D animation, but it also comes with a very clean useful video editing. The video editor in blender is more than enough for your video editing needs.
Blender allows you to perform basic actions like video cuts and splitting. It’s also used for video masking, thus making it one of the video editors due to the flexibility of its interface. Both beginner and pro-level users can be conversant with its interface.
Features Of Blender Video Editor:
- Live preview, Luma waveform, chroma vector-scope, and histogram displays.
- Audio mixing, syncing, scrubbing, and waveform visualization.
- Up to 32 slots of video layering, images, audio and effects.
- Chroma keying or green screen effect
- Speed control, adjustment layers, transitions, keyframes, filters and many more.
Pros – Best for advanced users who are not scared of by all the features and interface.
Cons – Most of the tutorials on blender focuses on 3D animation/Modeling. Tutorials on the video editing features are limited making it a little difficult for beginners to jump into the app.
Davinci Resolve
Davinci resolve is also one of the most advanced video editors on the market. It is available on Windows, Mac and Linux. Davinci has many professional features including its intuitive features.
Davinci Resolve is known for its powerful colour correction feature. It can also be used for 2D and 3D titling for your videos. For all its powerful features, Davinci Resolve offers its full software at a cost, but if your video its a little more advanced, its free software is hard to beat.
Features Of Davinci Resolve:
- Advanced trimming
- Multi-cam editing
- Colour correction
- Audio mastering
- Chroma key
Pros – User-friendly interface and incredible color correction
Cons – Tutorials are very costly and its wide array of features makes it confusing.
Openshot
Openshot its entirely open-source video editor available for Windows, Mac, and Linux. Openshot comes with a very easy drag and drop interface, with excellent features like unlimited layers and audio mixing.
Openshot although advanced but has a very user-friendly interface for beginners to easily use the software without external help.
Features of Openshot:
- Unlimited layers
- Clip resizing, scaling, trimming, snapping, rotation, cutting, and video transitions with real-time previews of the project.
- Image overlays, Compositing, and watermarks for copyright
- 3D animated titles and effects, title templates, title creation, and subtitles.
- Drag and drop, scrolling, panning, zooming, snapping and advanced timeline.
Pros – Open source and unlimited layers.
Cons – Limited video tutorials,
HitFilm Express
HitFilm Express is one of the freest used professional video editing software on the market. It is available for Windows, Mac and Linux. It comes with professional features a free editor would not be considered to have.
Features like splitting, trimming, and audio editing effects make the app one of the powerful free software. The software comes with over 180 special effects to include in your projects.
They offer tutorials on their platform based on well-known Hollywood films like star wars and all tutorials are very interactive and engaging for both beginners and advanced users.
Features of HitFilm express:
- Advanced cutting tools
- green screen keying
- Video and audio filters
- Compositing tools
- Layers and masking
- 3D video support
Pros – Free professional video editor
Cons – Takes time to be familiar with its interface.
VSDC Video Editor
VSDC is a Windows video editing software which offers powerful editing features for video editing. The software offers both pro and free version. The free version is enough for editing your projects except you want more advanced features, either than that, the free version should be enough.
Pros – Straight forward to learn with powerful features
Cons – High cost of technical support and the software is only available for windows only.
Conclusion
Video is said to generate leads and customers more than text, thus video content creation has been the norm of the internet in recent times.
Businesses and individuals always search for free video editing software that can be used to create their contents easily and professionally because of the high cost of acquiring professional software’s.
In this article, I have shared with you five of the very best free video editing software’s that can be used for video editing in a professional way. Knowledge is not in the head of one, comment your free video editor in the comment section to help others.