Using the flashlight on your iPhone can come in handy when you need a little extra light. Whether you’re walking home at night or trying to locate something in a dimly lit room, turning on the flashlight on your iPhone is quick and easy. In this article, we will provide step-by-step instructions on how to turn on the flashlight on an iPhone.
How turn on iphone flashlight
- First, unlock your iPhone and make sure you are on the Home screen.
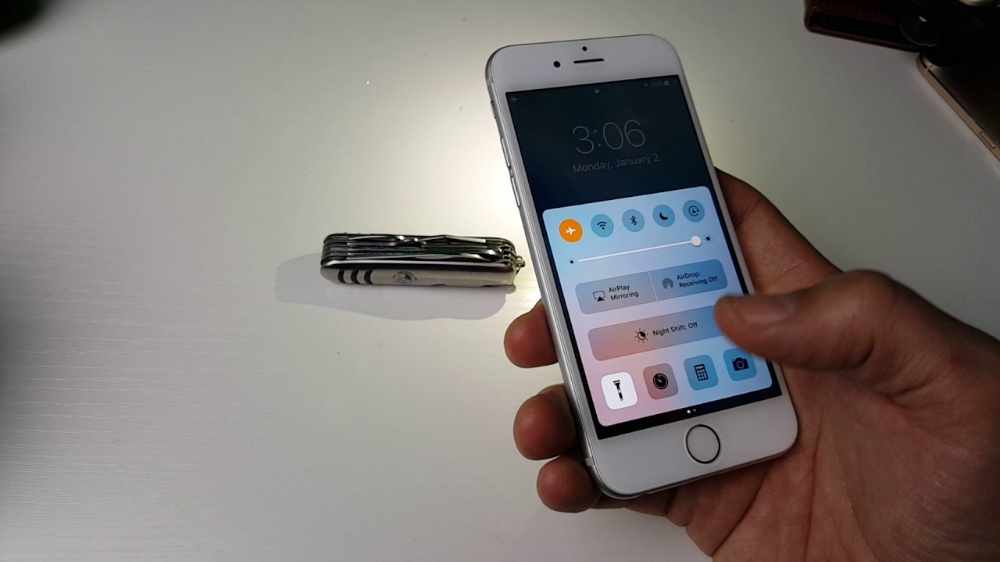
- Now, swipe up from the bottom of the screen to bring up the Control Center.
- Look for the Flashlight icon (it looks like a flashlight) located in the bottom left corner of the screen.
- Tap it once to turn on the flashlight.
- To adjust the intensity of the light, press and hold down on the flashlight icon. A scale will appear, which allows you to adjust the intensity of the light.
How to turn off iPhone flashlight
- Open the Control Center by swiping down from the bottom of the screen or top right corner of your iPhone’s screen.
- Tap and hold the flashlight icon in the lower left corner.
- The flashlight will turn off and the icon will become dimmed.
- That’s it!
Importance of iPhone flashlight
- Having a flashlight app on your iPhone means you don’t have to worry about carrying around a separate physical torch when you need extra light in a dark environment.
- An iPhone flashlight can be incredibly useful for providing extra visibility when you’re walking alone at night. It can also provide an additional layer of security if you hear suspicious noises in your home or outdoors.
- In case of a power outage, the flashlight app on your iPhone can help you find your way around your home and locate important items and other supplies that can come in handy during an emergency.
- If you find yourself in an unfamiliar place and don’t have any other source of illumination, the iPhone flashlight app can be a great way to help you find your way out of the darkness.
Does iPhone flashlight drains too much battery when turned on?
One of the most important questions people ask when it comes to using the iPhone flashlight is if it drains too much battery when turned on. The answer is NO. The iPhone flashlight doesn’t drain a significant amount of battery power when it’s turned on.
Conclusion
The iPhone flashlight is a great tool to have when you need a bit of light in a dark area. It is easy to turn on and off and can be done with just a few taps of your finger. It is also important to keep in mind that it can drain your battery if you forget to turn it off after you are done using it. So make sure to take advantage of this tool when needed.