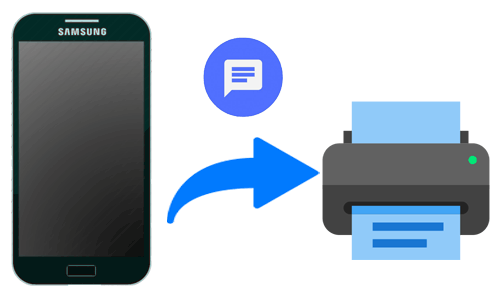
Text messages are an important part of our lives, but it can be hard to keep track of them all. If you have an Android device, you can easily print out your text messages so that you can save them for future reference.
Sometimes you might need to print out your text messages. You can save them to your phone or back them up to Google Drive. However, there may be a time when you need a hard copy. you might need a printed copy of text messages for legal or medical reasons. Whether you have a wireless printer that connects to your Wi-Fi network, or an older printer attached by a cable, you can print out texts.
This article will guide you through the process of printing text messages from your Android device.
What is a text message?
A text message is an electronic communication sent between two or more devices. It is typically done using cellular networks and can be sent from any smartphone or tablet running the Android operating system. The messages can be composed of text, images, video, and audio files.
Importance of text message
In the modern world, text messages have become a powerful and important way of communicating with friends, family, coworkers, and customers. They are often used for business communication and customer service, as well as for personal conversations.
Why is it important to print out text messages?
Printing text messages from your Android device is important for many reasons. For example, if you need to prove that a conversation took place, or show a business partner or customer what was discussed in a meeting, printing your text messages is the best way to do so. Furthermore, if you need to archive text conversations for legal reasons, or just keep them for sentimental value, printing them is a must. Additionally, if you’re having trouble with your phone or the texting app, printing your messages can be a good backup plan in case they are lost.
In short, printing text messages from an Android device can be an invaluable tool for keeping track of your conversations and archiving important documents. With the right software and a few simple steps, you can easily print any text messages you need to preserve.
How to print text messages from an Android device
There are some apps that can also help you print out text message conversations from Android. All you have to do is to visit Playstore and search them out.
SMS Backup+
SMS Backup+allows you to back up SMS, MMS, and call history using separate tags in Gmail and Google Calendar. So you can use it to transfer messages from Android to Gmail, then download the files from Gmail and print them. Besides, the software is free, so you can complete the process at no cost.
SMS to Text
SMS to Text is an SMS backup and recovery application that allows you to export SMS messages and convert them to Plain Text and CSV file formats. Except for the free version, SMS to Text also allows you to export SMS messages, convert them to Excel and HTML file formats, and send them to your email as attachments! After that, you can download the files and print them with ease.
Text to Email
Text to Email is a backup tool for converting text/messages to Text/PDF/CSV and/or as email body for later use. After you used this app to have your Android messages on email, you can download their files or copy the files to word for printing with ease.
Steps to print out your SMS using any of the apps above
- Visit the google play store on your android device
- In the search bar, type in SMS Backup+ and hit search
- When the app pops up, download the app and register using your email address and other required credentials.
- Enter your dashboard and setup a backup
- You will be asked to allow permission for the app to access your SMS. Click allow to all.
- Now, back up all SMS you want to print.
- After a successful backup, you can save the backup as a PDF on your phone or tablet.
- Open the PDF file on your phone and connect your printer to the WIFI
- Click on share and click on PRINT on your device
- Initiate printing and allow all backup SMS to print out.
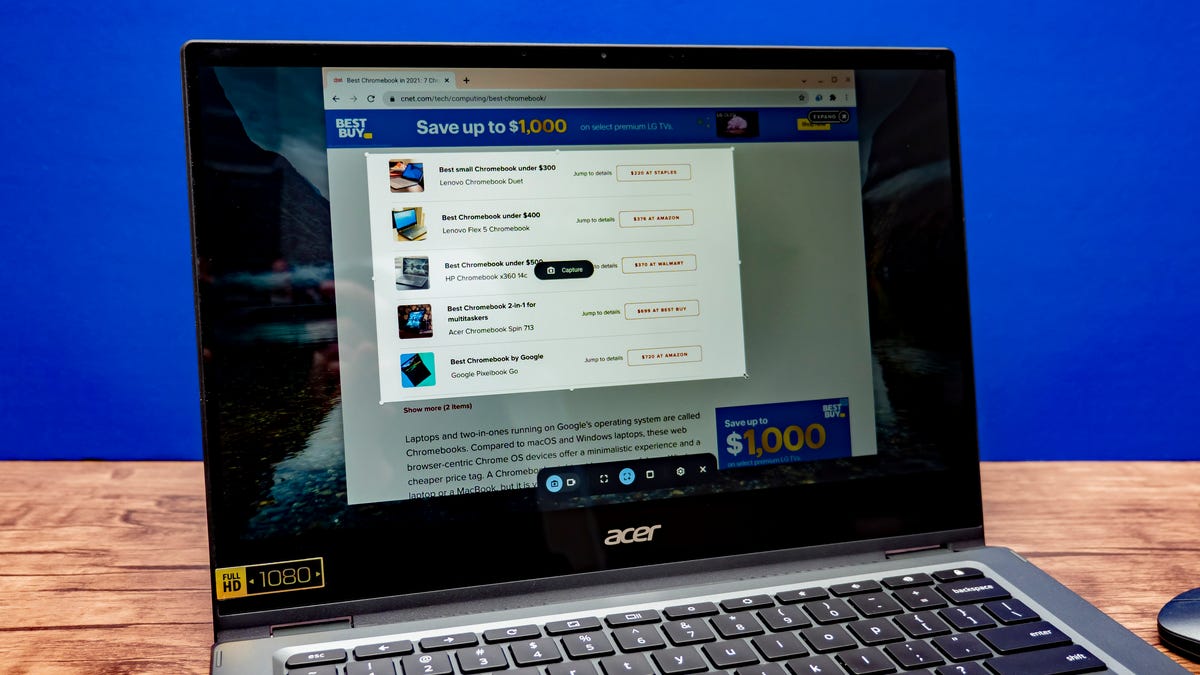
How to print out your SMS using screenshot
Open the Messages app on your Android phone, and open a conversation that you want to print. Then you might start to take a screenshot of the message conversation one by one for printing. To capture a screenshot on your device in most android devices, press the down volume and the switch all at the same time and your screen will be captured. After taking your screenshot,
- Connect your device to your printer and open the image from the gallery
- Click on the three dots mostly at the top right corner of your device
- Click share and hit on PRINT
- Your screenshot image will b printed out to be used.
Conclusion
Printing text messages from your Android device can be a great way to save important conversations or print off funny texts for memories. It is a fairly simple process, though it does require a few steps to get the job done.
The first step is to back up your text messages. This will allow you to access them on another device, like a computer. Once you’ve backed up your text messages, you can then access them from the computer and use a program or website to print them out.
Lastly, you can choose to save the printed text messages in either physical or digital form. If you want to save them physically, you can take them to a store that offers printing services and have them printed out for you. If you prefer digital storage, you can save the printed messages on a USB drive or other external storage device.
No matter how you decide to print your text messages, you now have a way to keep the conversations that are important to you close at hand. With these steps, printing text messages from an Android device is quick and easy.