The GH Self SIM Registration App is a new system rolled out by the National Communication Authority in Ghana to help make registration of SIM cards more simple and easier.
With the app, you don’t need to be in a queue at your network providers office. All you need is to download the app and at the comfort of your zone, you register your SIM with ease.
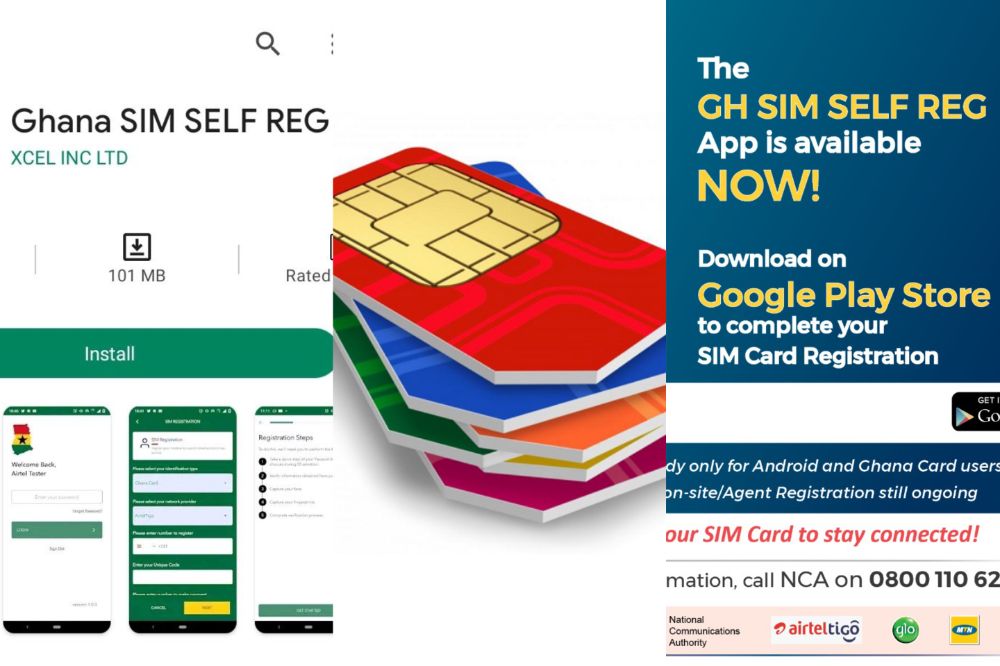
How to download the GH SIM Self registration app

To download the GH SIM Self Registration App,
- Visit playstore on your android phone
- In the search bar section, type in GH SIM Self Reg App
- The app will show app after your search and you hit on download.
- In some few minutes, the app will be downloaded and installed on your phone.
Things needed to register your SIM with the app
- Smart Phone.
- Ghana Card.
- Internet Connection.
- Email Address.
- Your Unique Code for your SIM after Stage 1 Registration.
- Ghana Digital Address.
- Mobile Money wallet.
Steps to Register your SIM with the GH Self SIM Reg App
- Download the App from playstore with the steps above.
- Create an account by providing your phone number (note that the number does not necessarily have to be the SIM you are registering).
- Provide your email address, first name, last name and a 4-digit PIN.
- Now, you are done creating an account.
- Log in using the credentials you used in creating your account.
- Select the type of ID (Ghana card).
- Select your netvwork provider (MTN, Vodafone, AirtelTigo or Glo) from the list provided.
- Now, enter the number of the SIM you want to register.
- Enter the phone number you want to use for mobile payment.
- One you have selected the Ghana Card ID, enter your unique code (the number your network operator provided to you when you did the *404# registration).
- If you have forgotten the unique code, dial *400# to get it back.
- After inserting the unique code, you will be prompted to confirm your payment.
- Click on confirm to initiate the payment process.
- Confirm payment.
- After the payment is confirmed, you will need to scan your Ghana Card ID in the next step.
- The app will load your personal information and the document number on the screen.
- Kindly pay attention to the screen and follow the prompts on the screen to capture the front and back of your Ghana card.
- After scanning your Ghana Card, the app will ask you take a selfie for verification.
- If successful, the app will send you to the next step to scan your fingerprints.
- After reading the instructions, click to start scanning.
- If successful, you will get a notification.
- Now that’s it! You have successfully registered your SIM Card.
Is the GH Sim RegistrationApp available on iOS?
No. The app is currently on Google playstore only and thus, can be accessed by only android users. As to when it will be released on iOS has not been yet communicated.
Is registration on the app free?
Registering your SIM Card on the SIM Self Reg App is not free. Users need to have at least GHS5 in their mobile money wallet before they begin the registration process.
Conclusion
The GH SIM Self app has been introduced to make registration of SIM Cards more easier and thus, every Ghanaian who has not yet registered his/her SIM must do so to prevent any odd days.